Roland VS Recorders, MC-307 & MV-8000 MV8800 Transport button repair
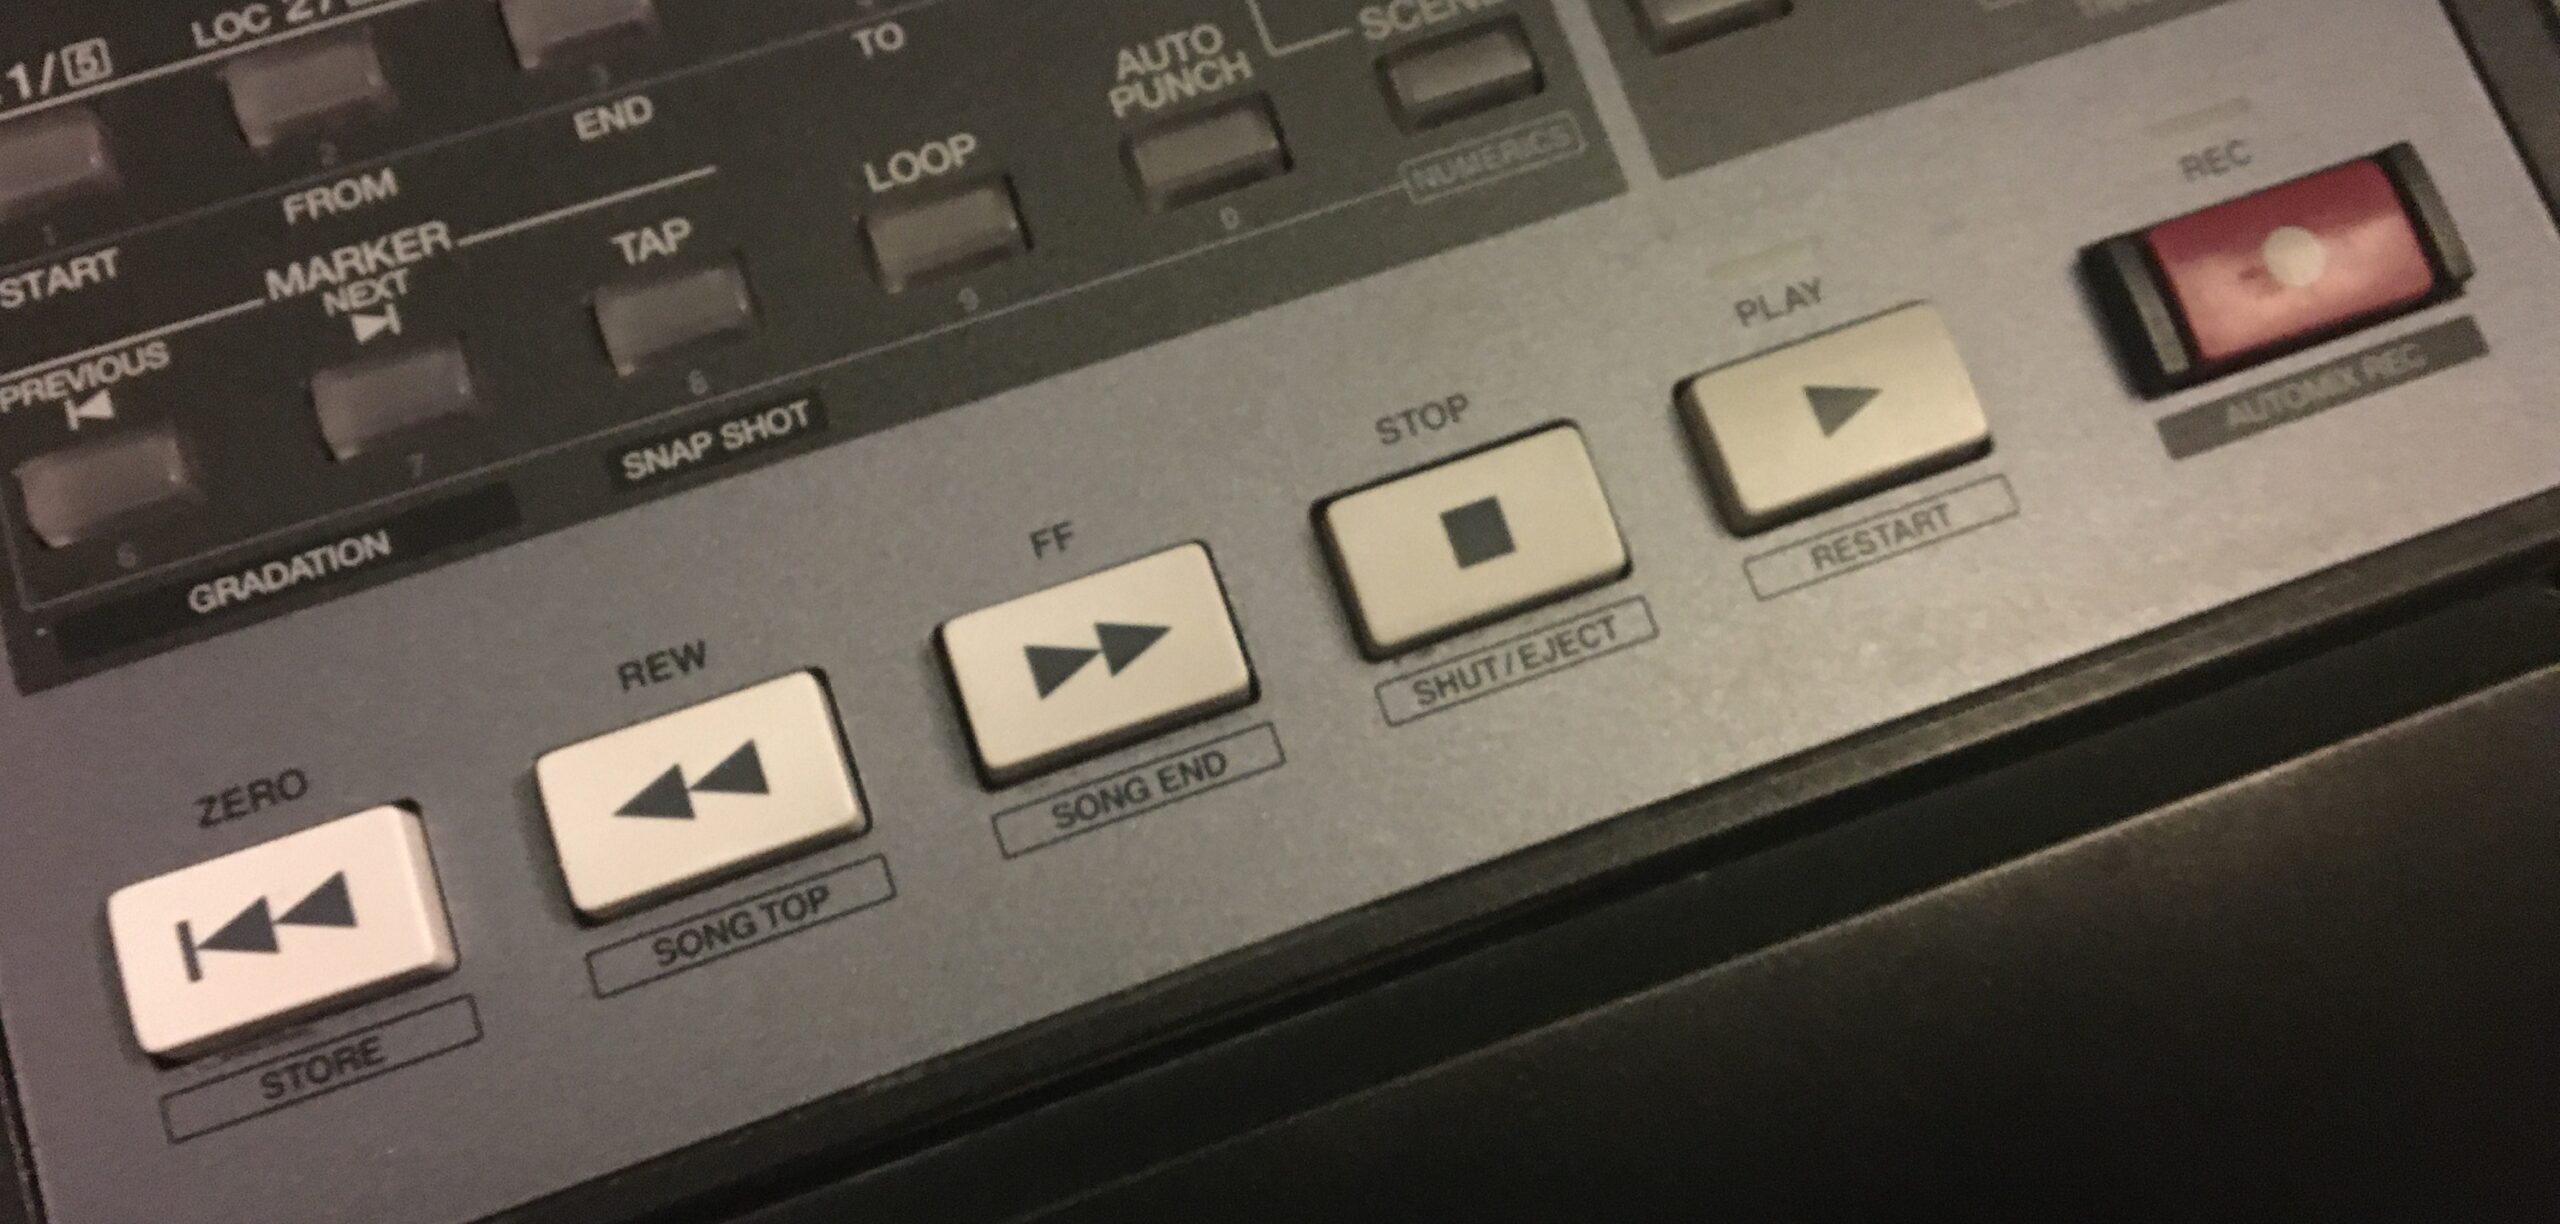
Faulty Play Stop Record FF RW Buttons
As these units age, more and more start showing up in “Great Condition, but being sold as/is”. Not knowing any better I hopped on a hundo dollar deal for a Roland MC-307 that the play button didn’t work. The 307 showed up, I plugged it in, it started up so I threw it in to the sh*t pile to deal with another day.
Another day started over a year ago when I finally took it apart. For one, someone had been up in there before and did a little damage, hell a lot of damage. Throw it in the thrash? Hell no. We have all been there, the hoe’s a little jacked, it doesn’t mean our love can’t bring her back!
At least that was my initial thought. Once I got to the Transport switches I realized this is a place I’ve never gone and a place I never wanted to be.
what the previous owner probably already knew and I was quick to learn was the specific switch used for the transport buttons was long out of production.
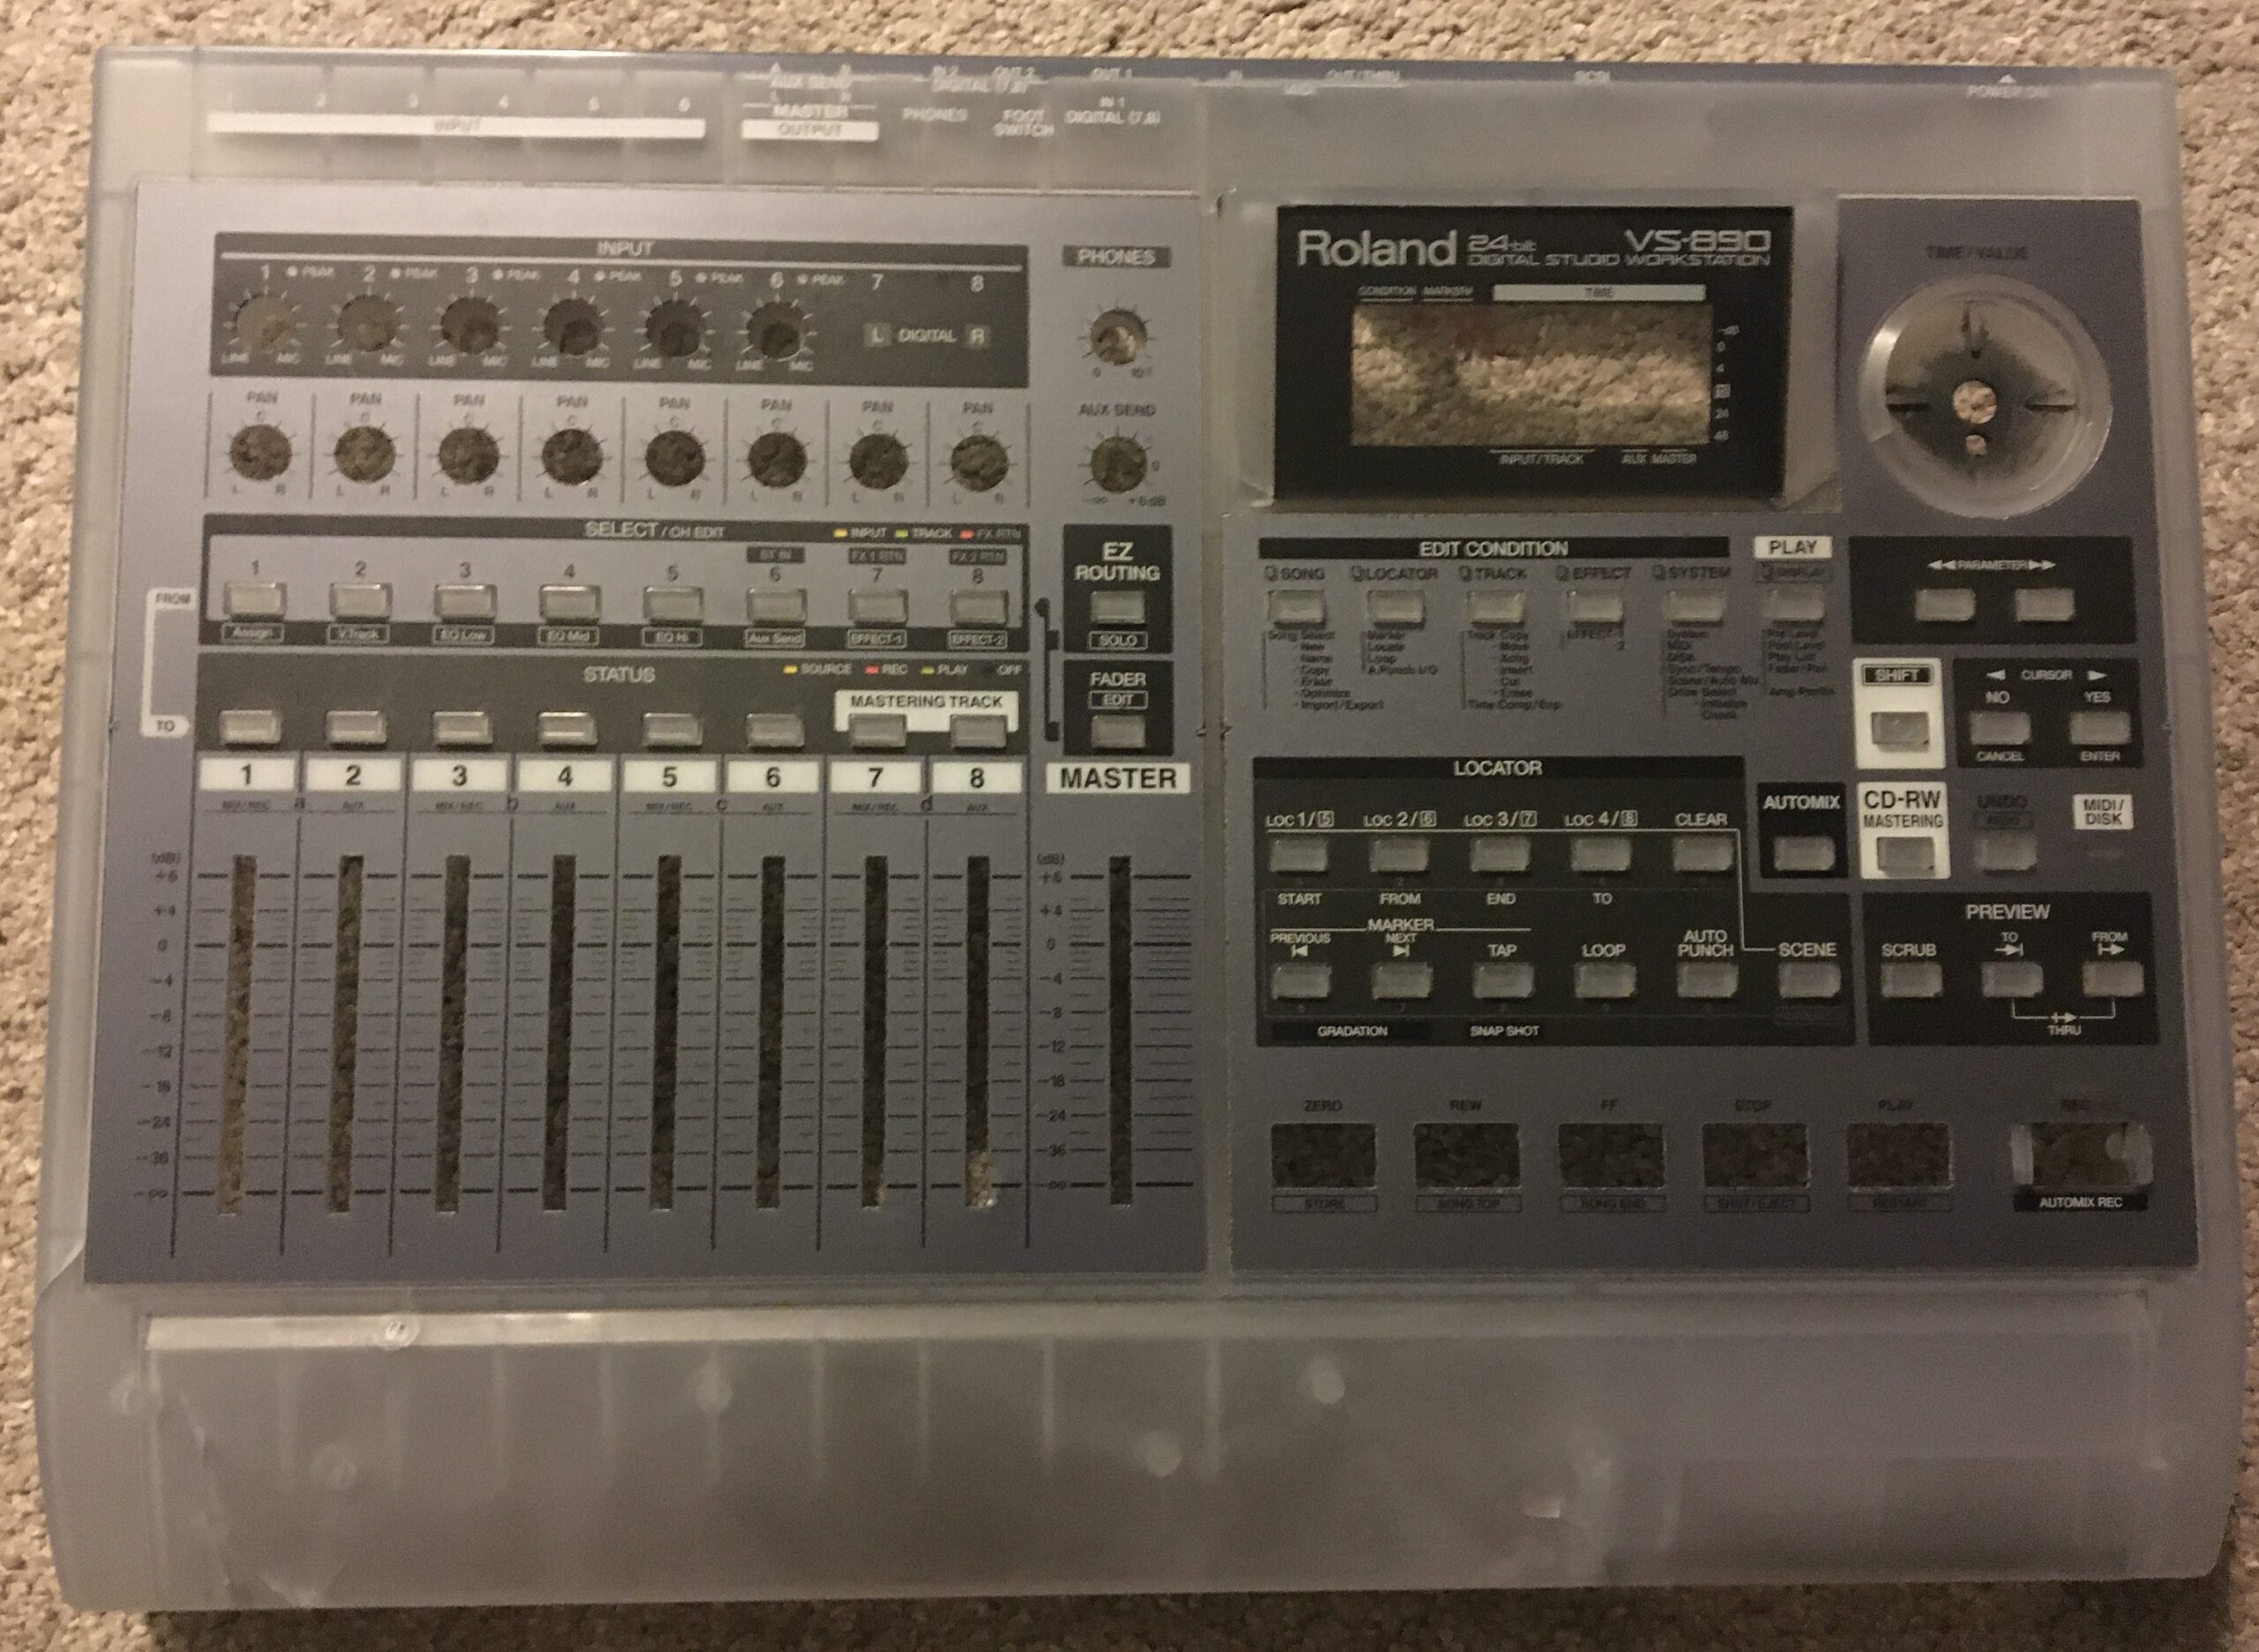
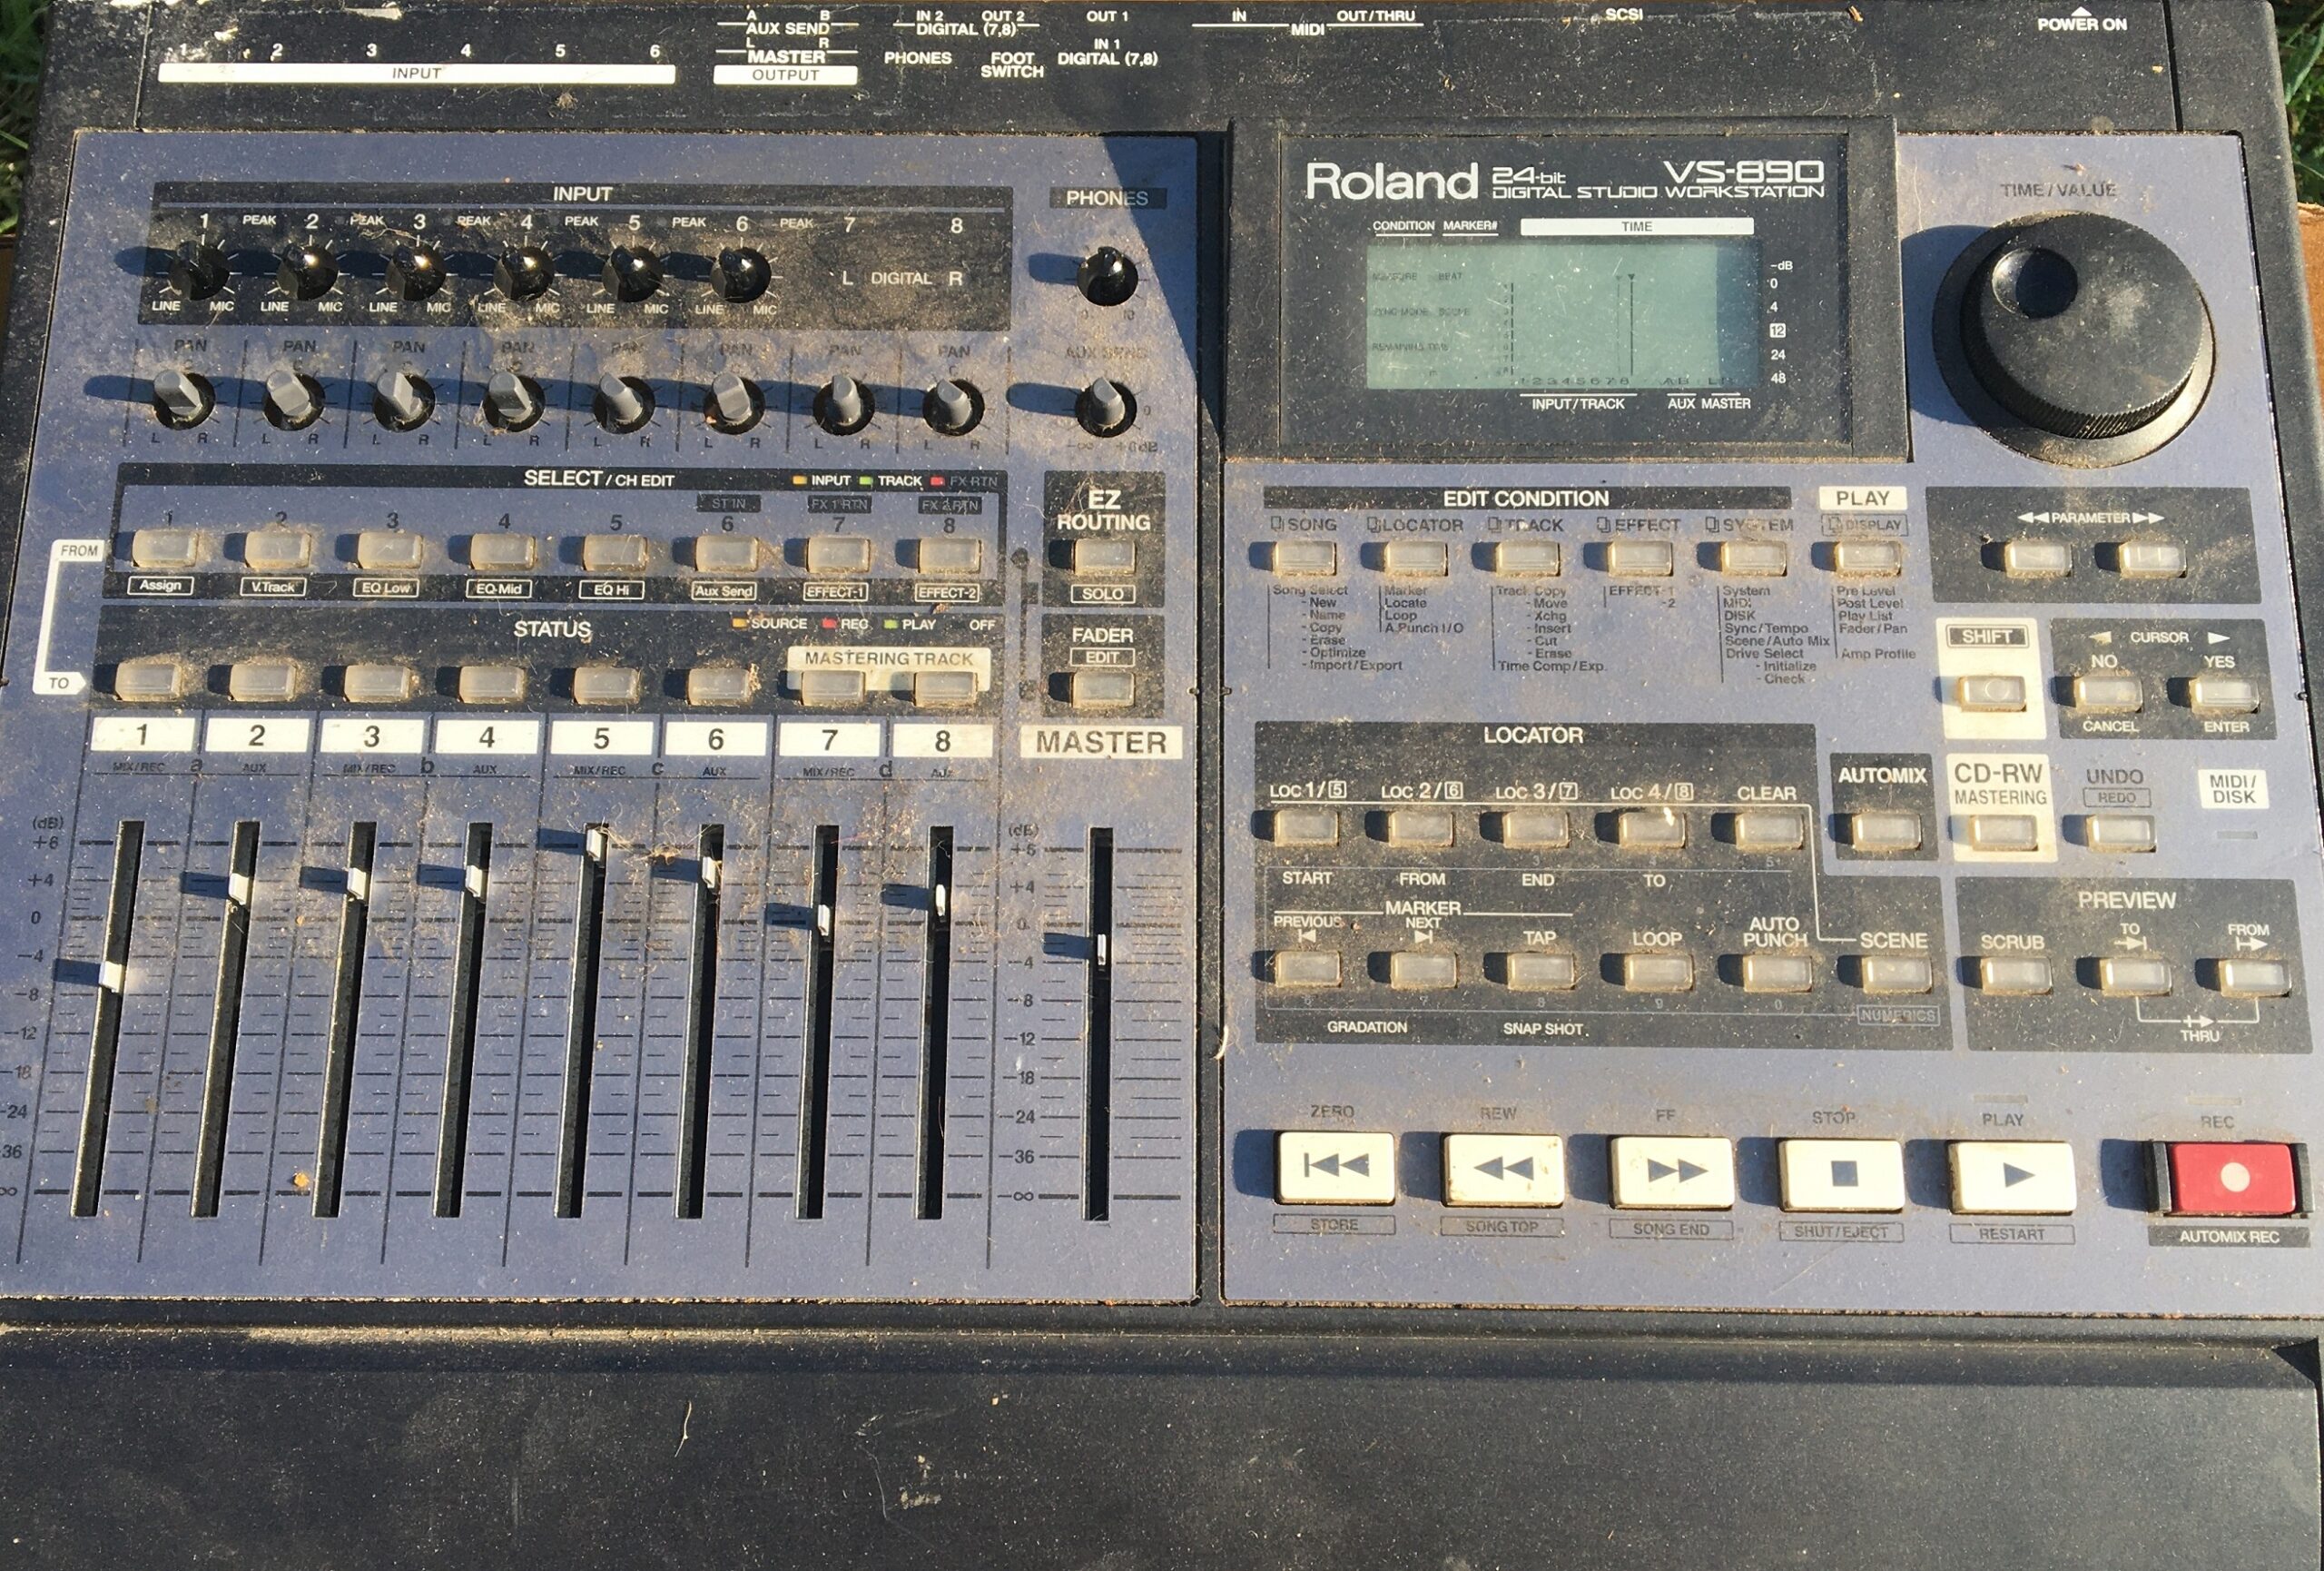
So I went on a quest better yet a journey, through the hell of the interwebz until I found the light. Not only were these switches used in the MC-307, but the VS-840, VS-880, VS-890, VS-1680, VS-1880, even the MV-8000 and MV-8800 units! Roland used these switches 6 per unit in hundreds of thousands of unit!
But they just failed to keep any additional stock to repair the units.
I attempted to try to get Alps to rerun productions but I was basically told to f*ck off in a very polite Japanese manor.
So I tried cutting and pasting tact switches to original housings. Ultimately a bad decision. Left with the option of cuttin’ off the controls and only running the machine by midi control I left it as/is, until I ran into a Roland VS-1890 with the same problem.
Warning despite this being the only repair for transport buttons. If you break the housing you are screwed.
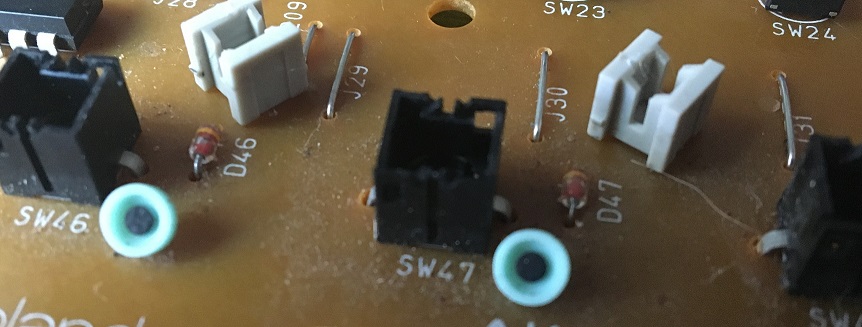
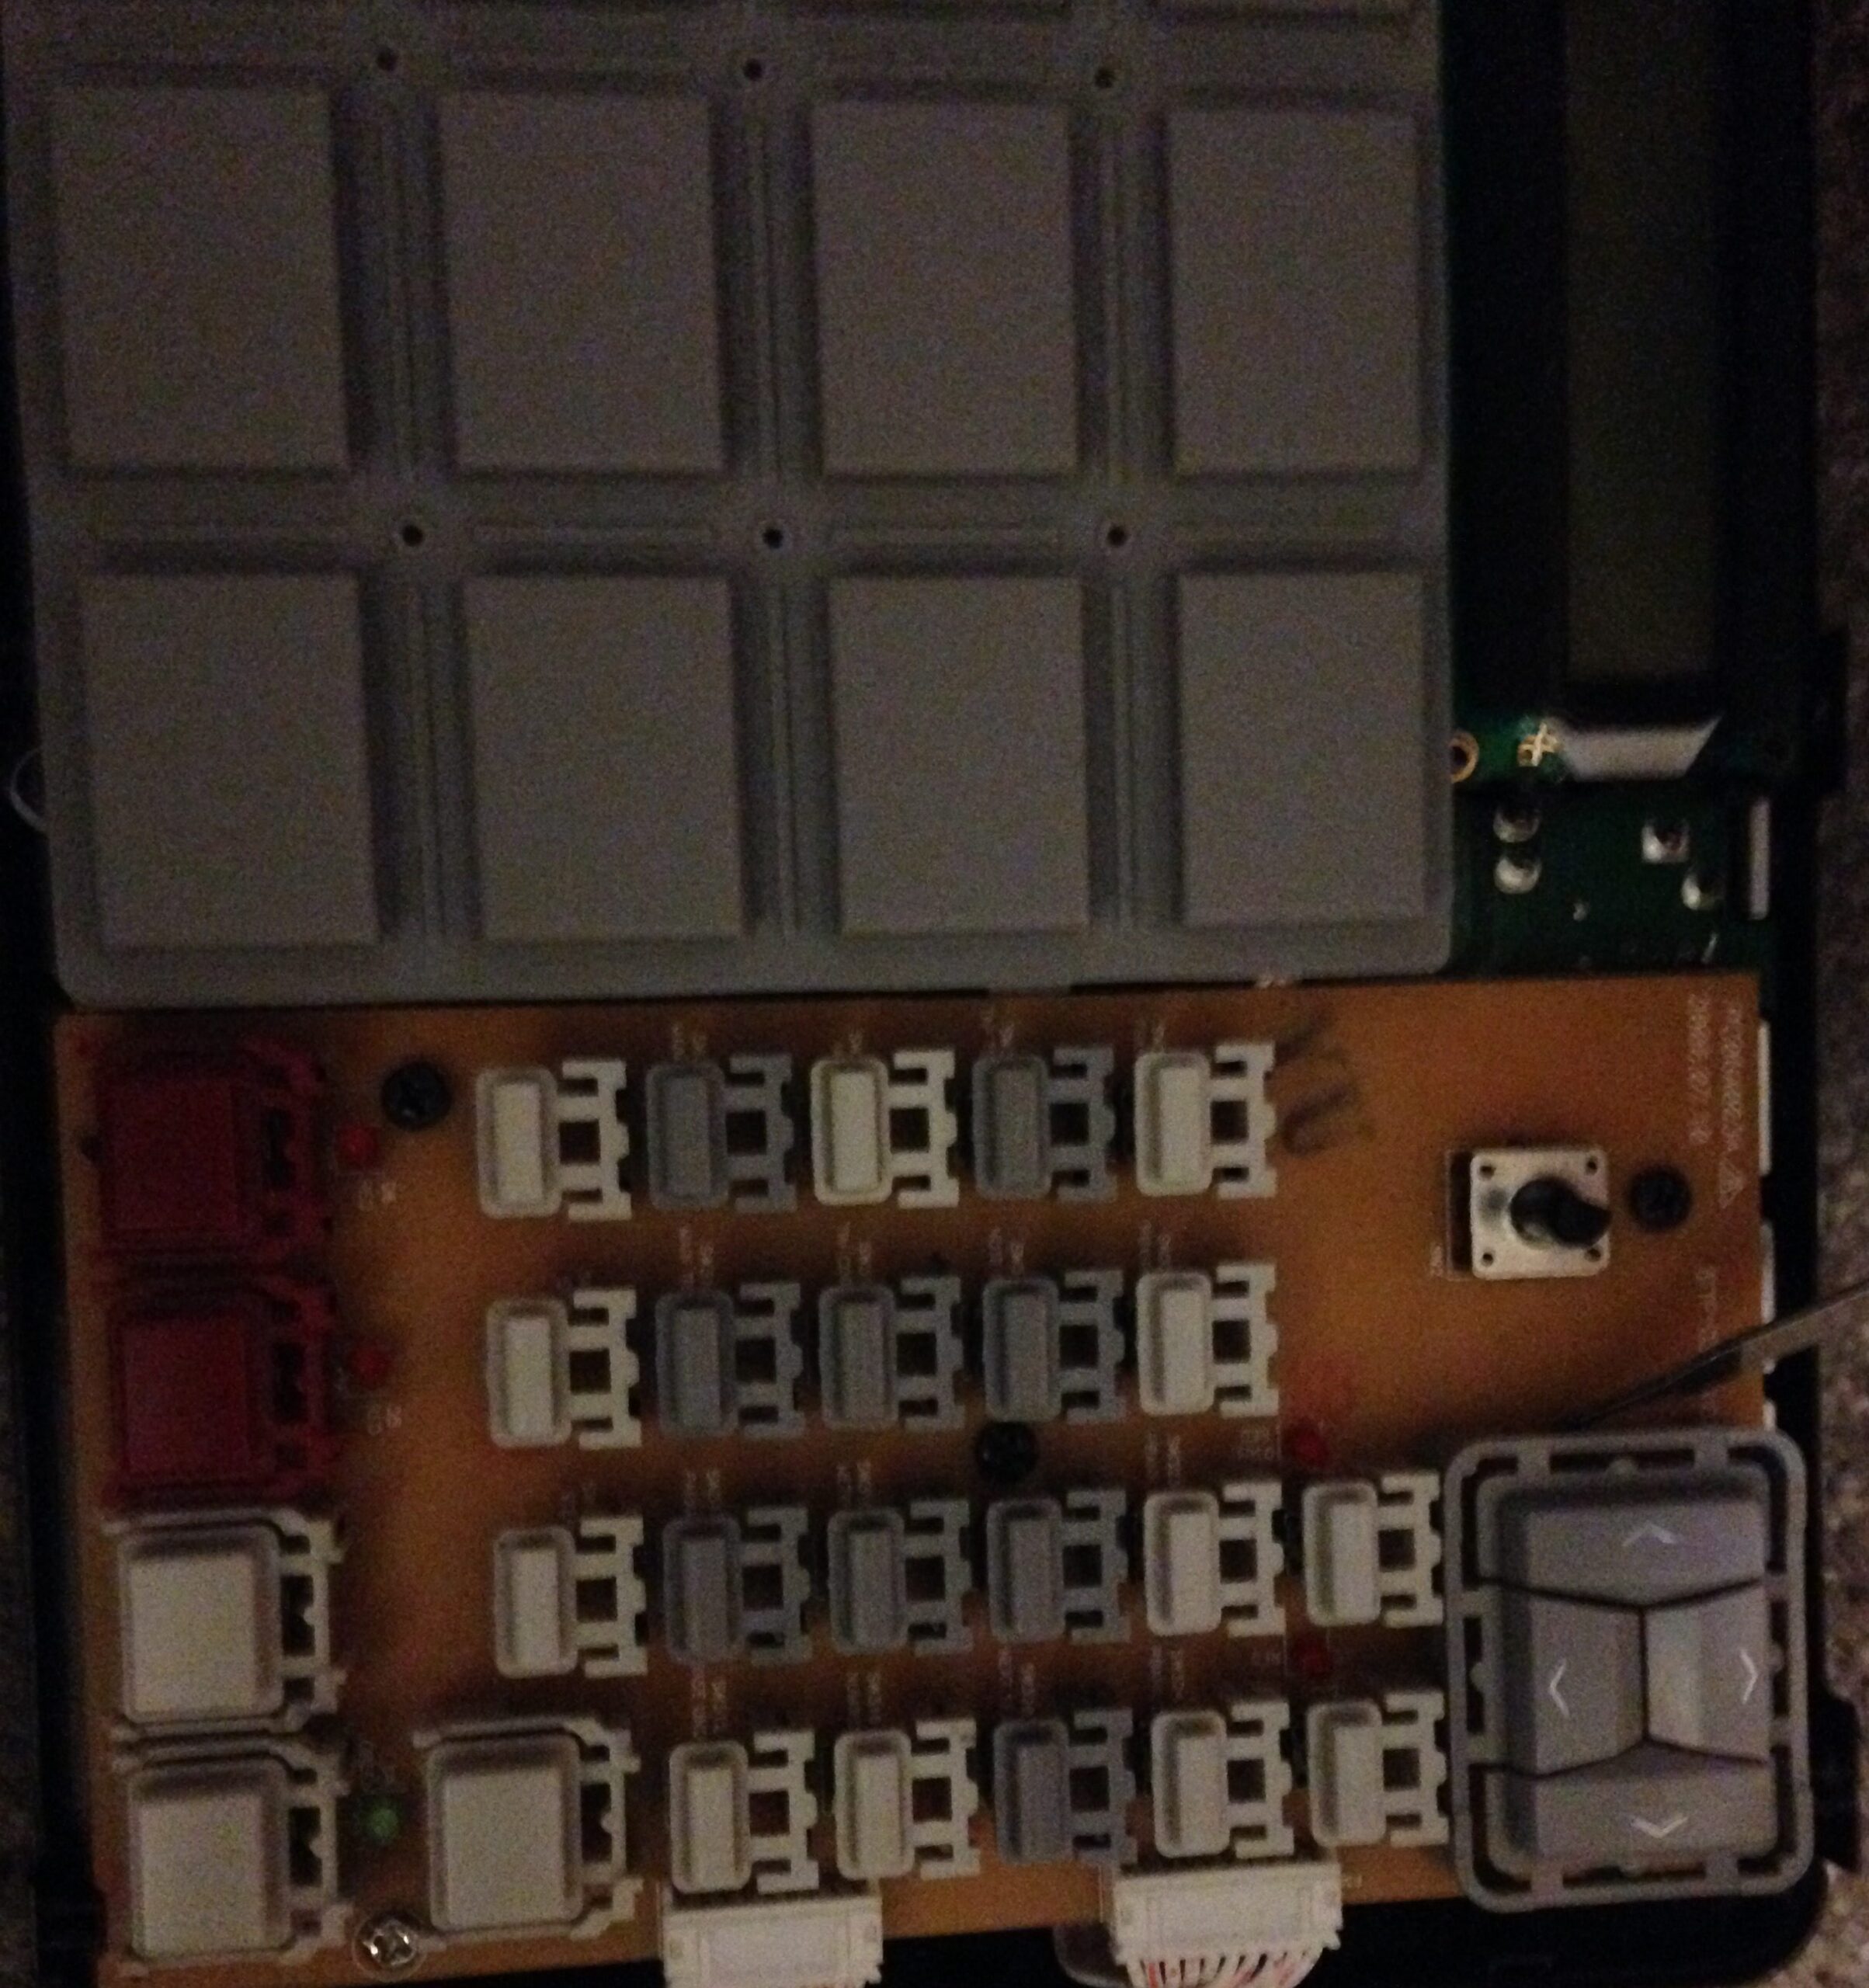
Unlike most tact switches being a tiny concaved little piece of copper the internals of these switches are silicone with a carbon center to make contact. The same concept is used in the SP sampler pads, or for simplicity the remote control that turns on your tv.
The basics of the repair is to either repaint carbon onto the tiny pad using something like CRC Dry Graphite Lube, or if the tiny blue pad is ripped (as all of mine were in the MC-307) the same piece can be harvested from a like part number.
As long as you pull out the top part of the switch without breaking the bottom black base all is good
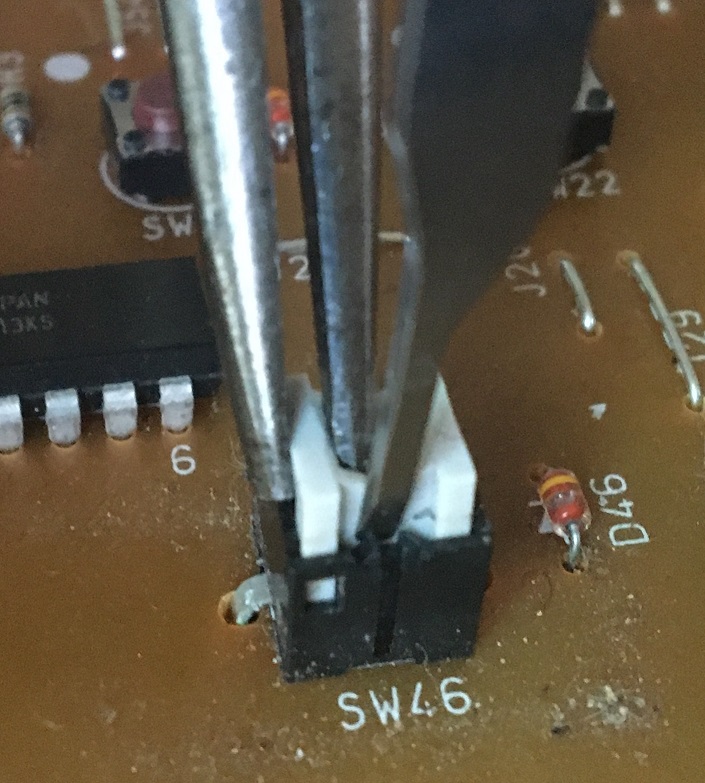
I use the tiny chisel shaped attachment on a swiss army knife to do this but any 1-2mm fine tip flat head should be fine. All you want is the slightest of pressure to release the tiny clip of the white piece in that little window.
**On the very left hand top of the little window you can see that the black casing is not connected there for easy release. Go ahead and do it on that spot at your own risk** I try to aim a little more towards the middle.
With slight pressure and pulling up softly with needle nose plyers the top portion will release.
The same will need to be done to the backside, without letting the front clip back in.

Once the top piece is pulled out you can reach in with soft nose tweezers and pull out the blue silicone carbon pad pictured above. If it is ripped it will need to be replaced. If it is still in good condition it can be repainted with carbon and stuck back together.
Clean out the inside of the housing and contacts with a q-tip dipped in rubbing alcohol.
Once, cleaned out and repainted with carbon or replaced they should be as good as new.
6 Comments
TM
Thanks for posting about this. I have a VS-1880 with a bad Stop button and this helped me figure out take apart the switch to fix it.
Aku
This Method just brought my MV8800’s Transport section back to life after 3yrs of being non-functional.
Wow!!!! It only took me about 25mins.
Thanks for this post🏆
Gratitude & Appreciation
J Kon
Thanks for posting this information. Newb questions: You stated if the blue silicon carbon pad is torn it needs to be replaced, do you know where to aquire those? Also, in the event they are not torn and can be repainted with carbon, where can one aquire the best carbon for this application? Thank you!!
admin
Hi J,
Bad news is the parts sticker on the replacement switches to pull out the blue silicone piece is unreadable at this point (I will have to research again), but I can say the switch looks just like the the one on the machine but smaller and the white top is a cross as oppossed to the square on these machine if you want to start searching mouser (you can see it in the last picture bottom right corner).
The odds of one being torn is pretty slim.
CRC Dry Graphite Lube works the best for repainting the carbon. Spray a little in a ziplock and paint (drip) a few new layers on. It is pretty much graphite and iso alchohol in a spray can. I thought I had a DIY for it but I guess I never finished writing one up.
Thanks.
bubb
Hey thanks for this info! I had already dug into my switches before seeing this and I got them very clean and reassembled, but I’m still not getting the buttons to zero out on the multimeter. Do you know if these buttons are supposed to go to zero like the tact switches? I getting a reading of around .140 on the resistance setting. Prior to cleaning, most of the buttons were around .900
admin
Thanks for stopping by. I just measured a new one (not connected to the board) at 0.038 using 6KO. Assuming that the switch is still connected to the board maybe it’s getting a little resistance from other components?
If the buttons are now working as they should I wouldn’t put to much thought into it.
Thanks