Refurbishing the Roland VS890

The DIY for repair, cleaning and Refurbishing a Roland VS-890 and VS-880
I think the easiest way to do this refurbish and DIY for another to repair their unit is to break it into parts.
–Cleaning the Roland VS-890 VS-880
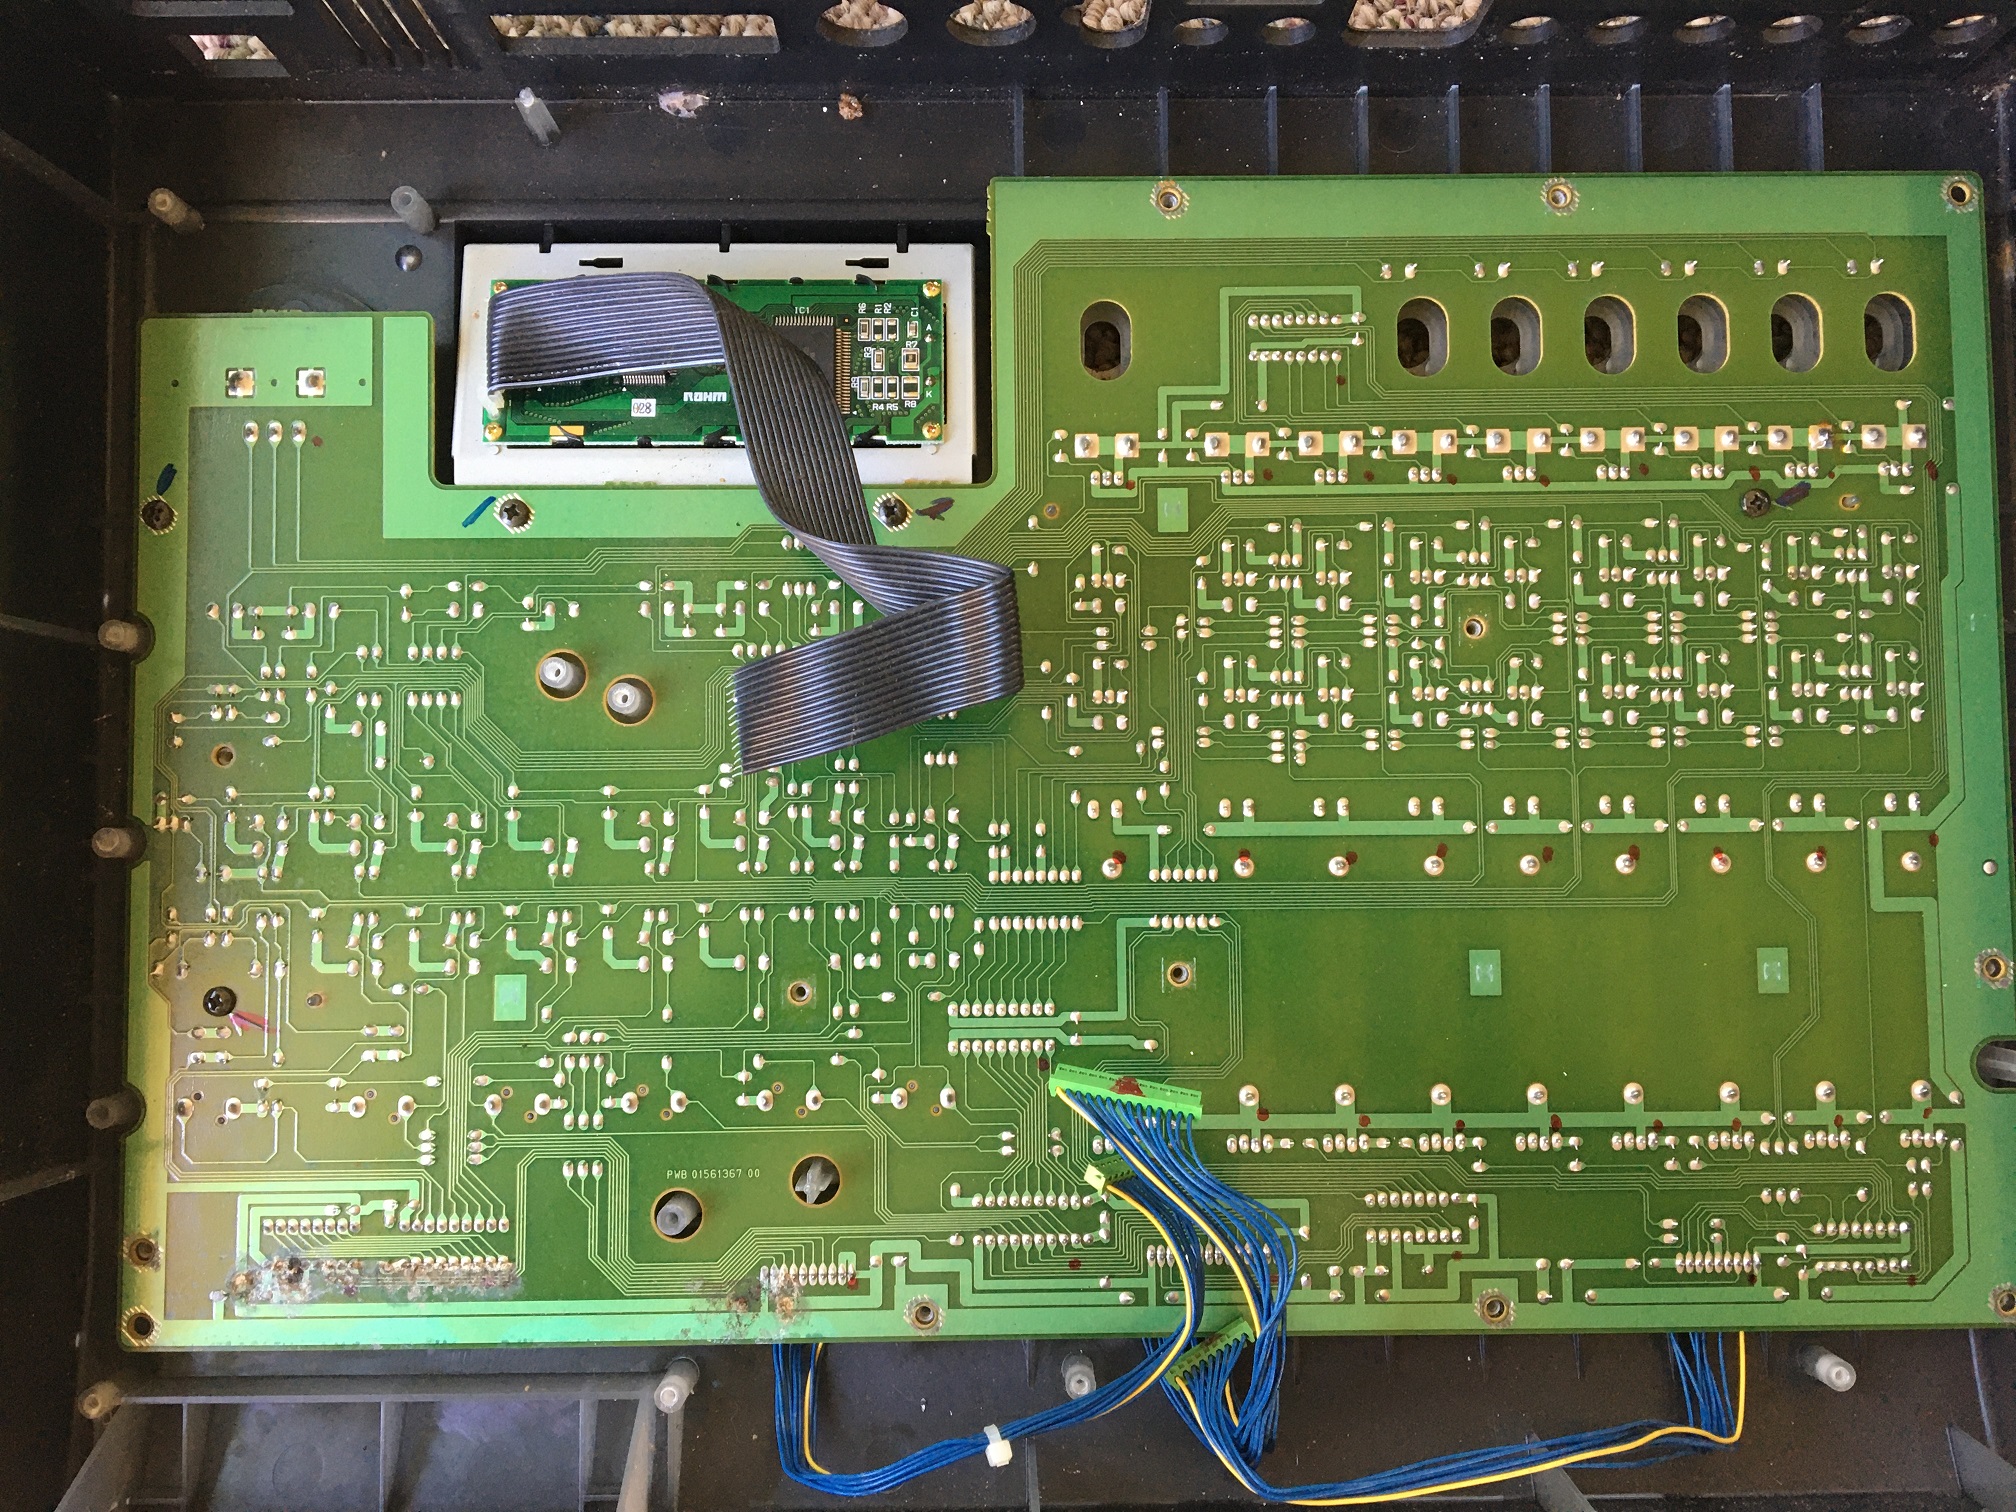
–Disassembly of the Roland VS-890 VS-880
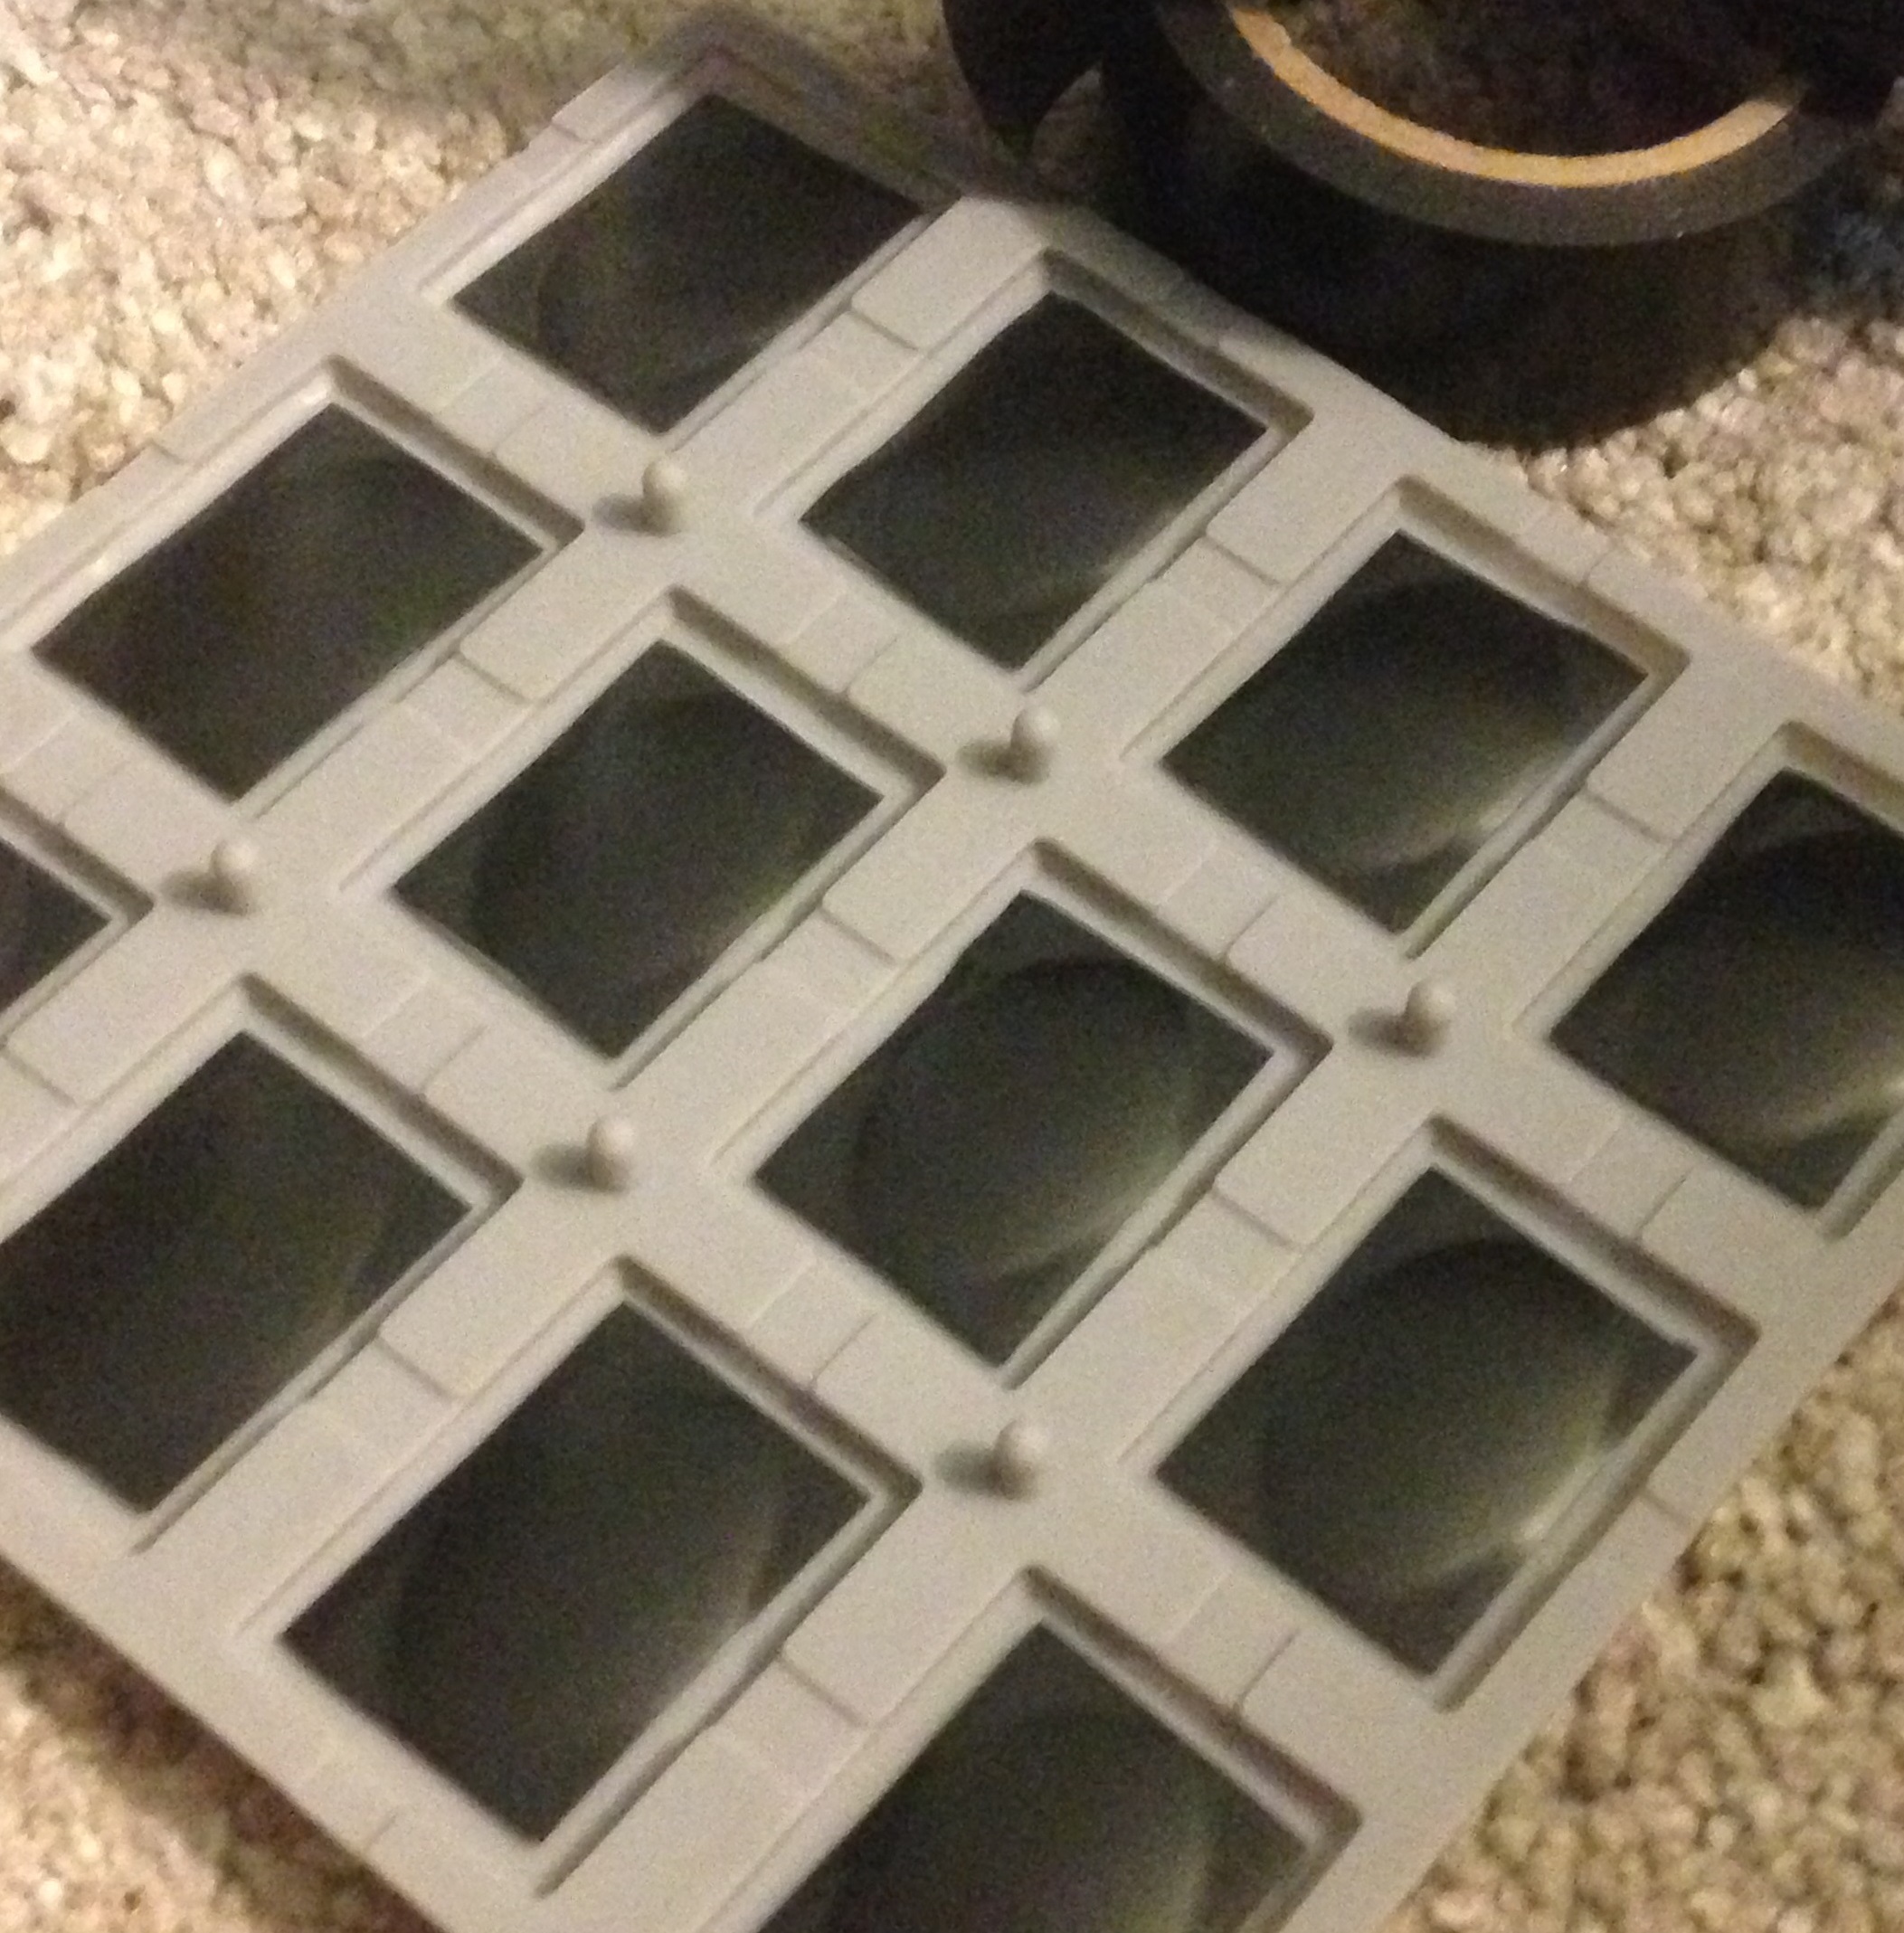
–Cleaning Knobs and Buttons
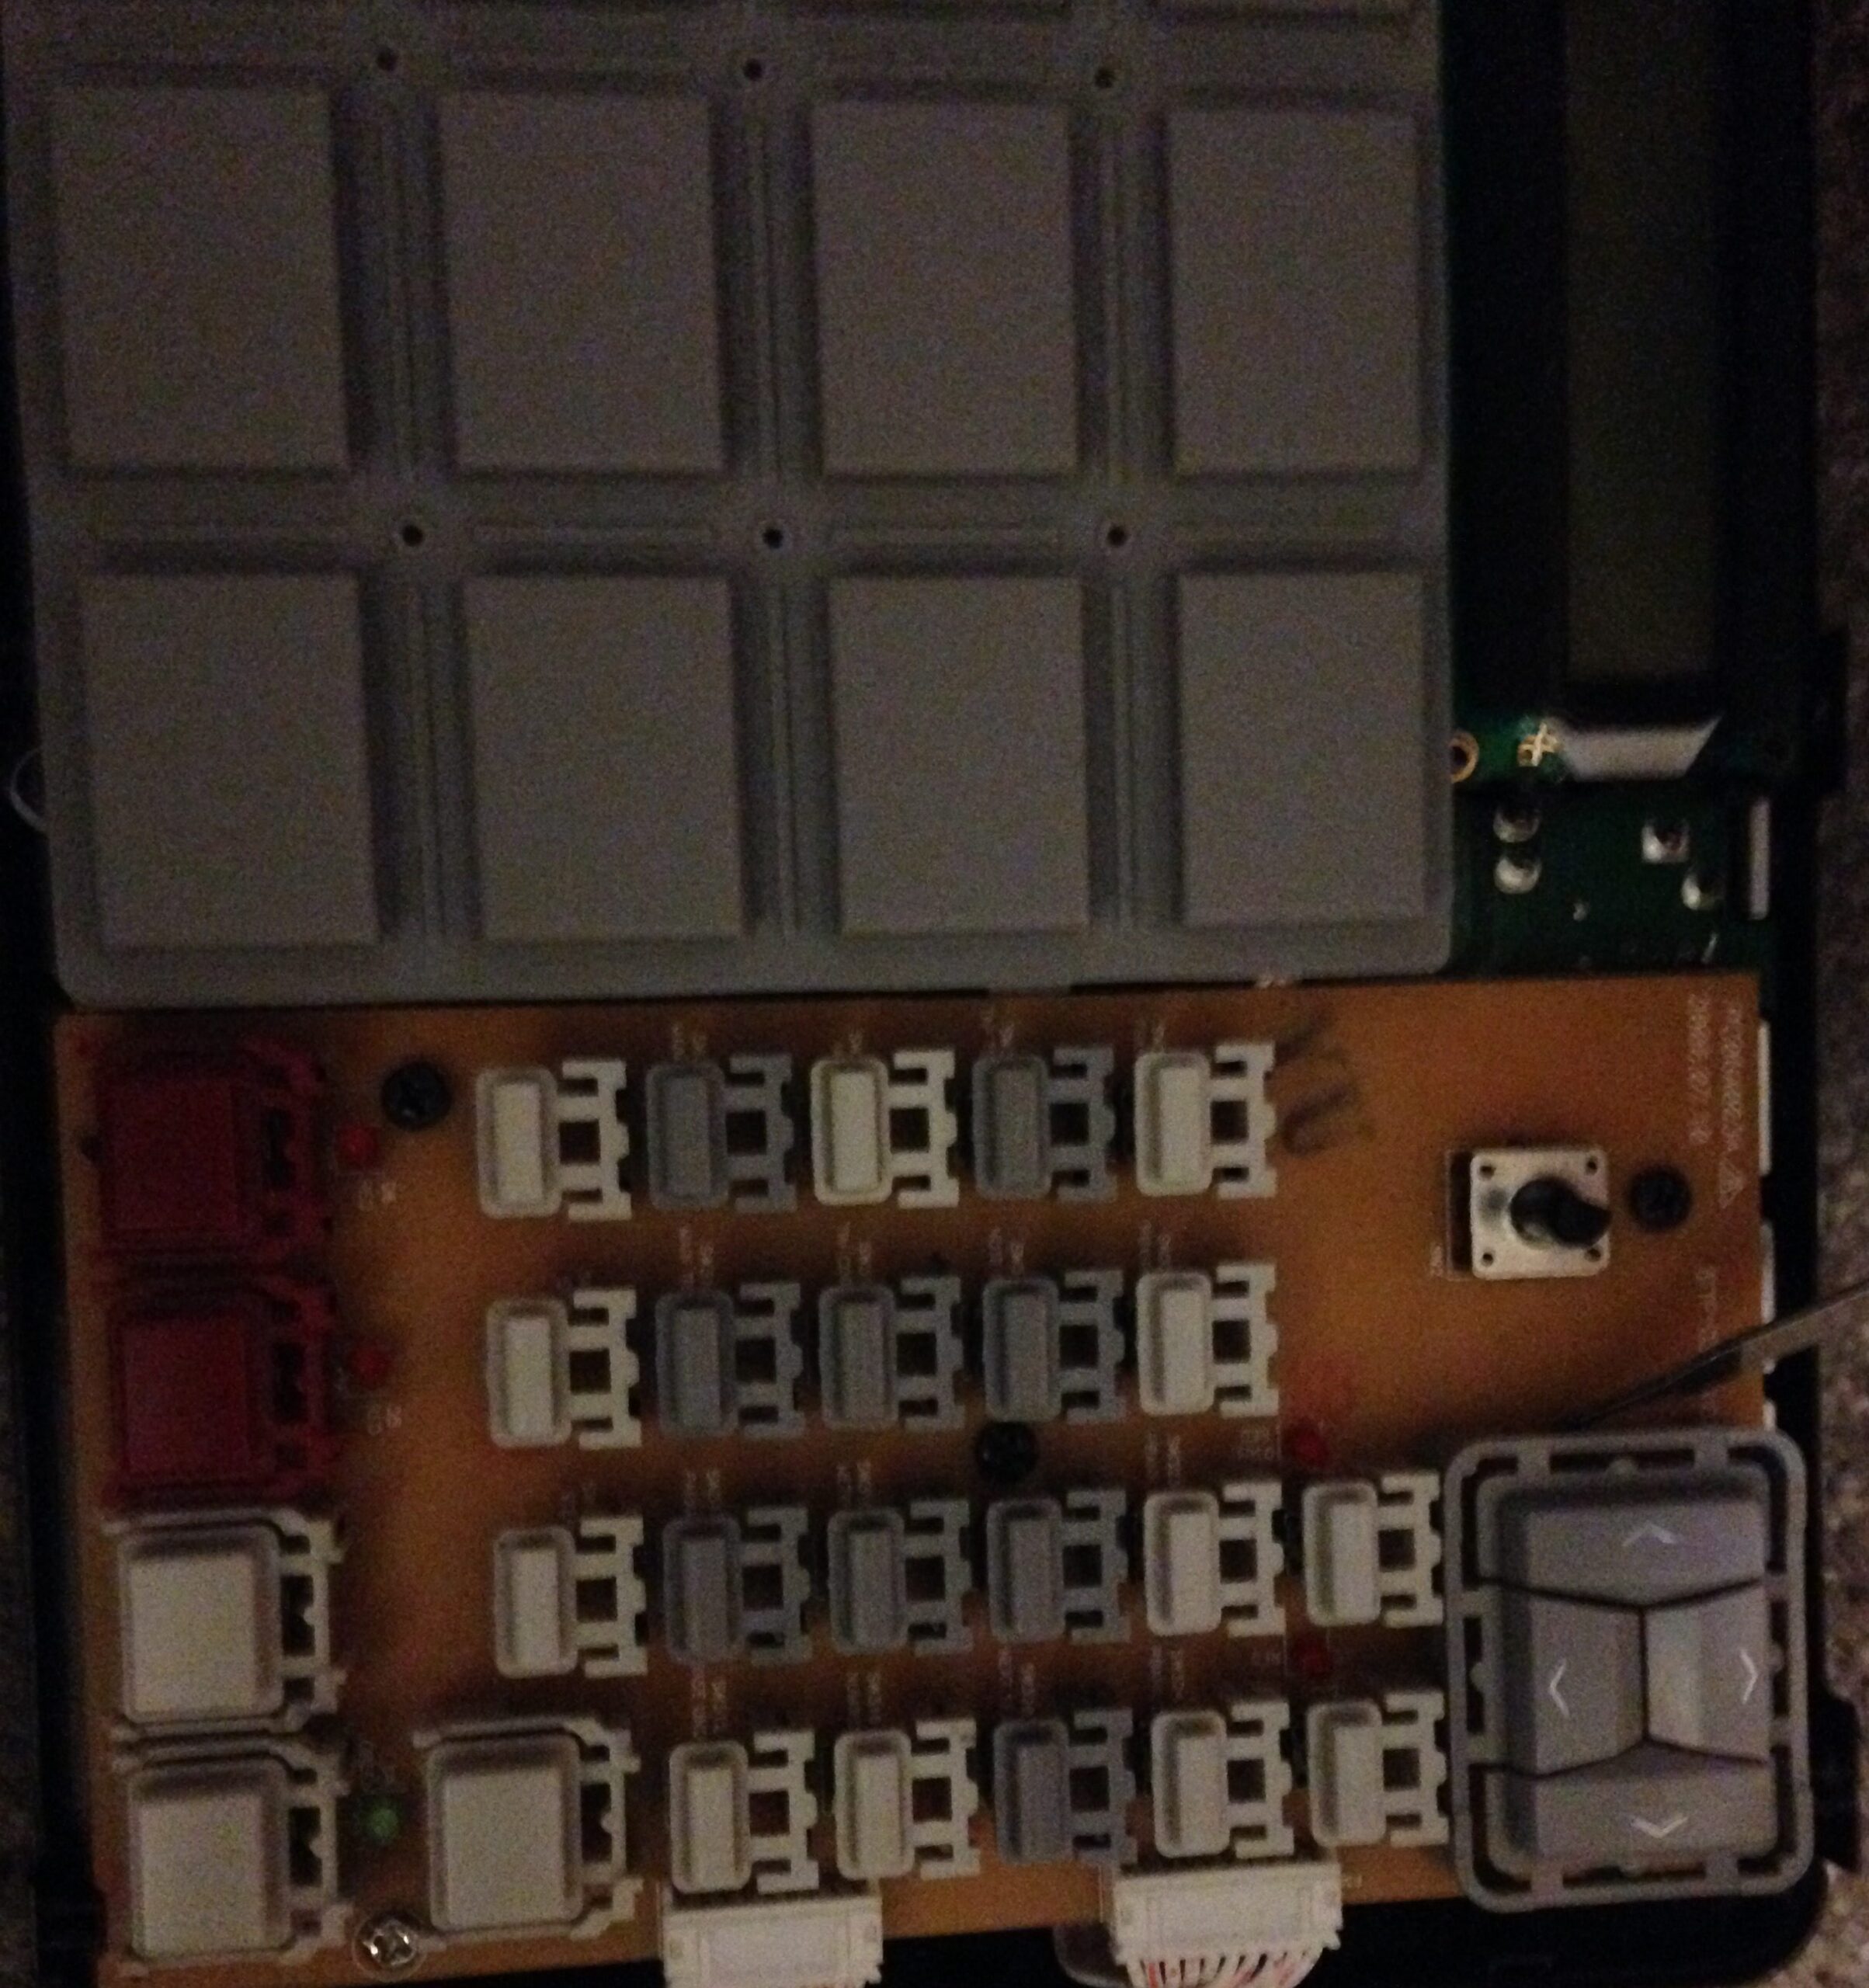
-Slide Fader and Tact Switch Replacement
-Transport Button Repair
Once fully dissembled per part to cleaning will continue in part one.
Part 3 will have to do with repairing and replacing parts in the Roland VS-890-880.
As this project is dedicated to the Roland VS-890, parts and all will be the same for the VS880.
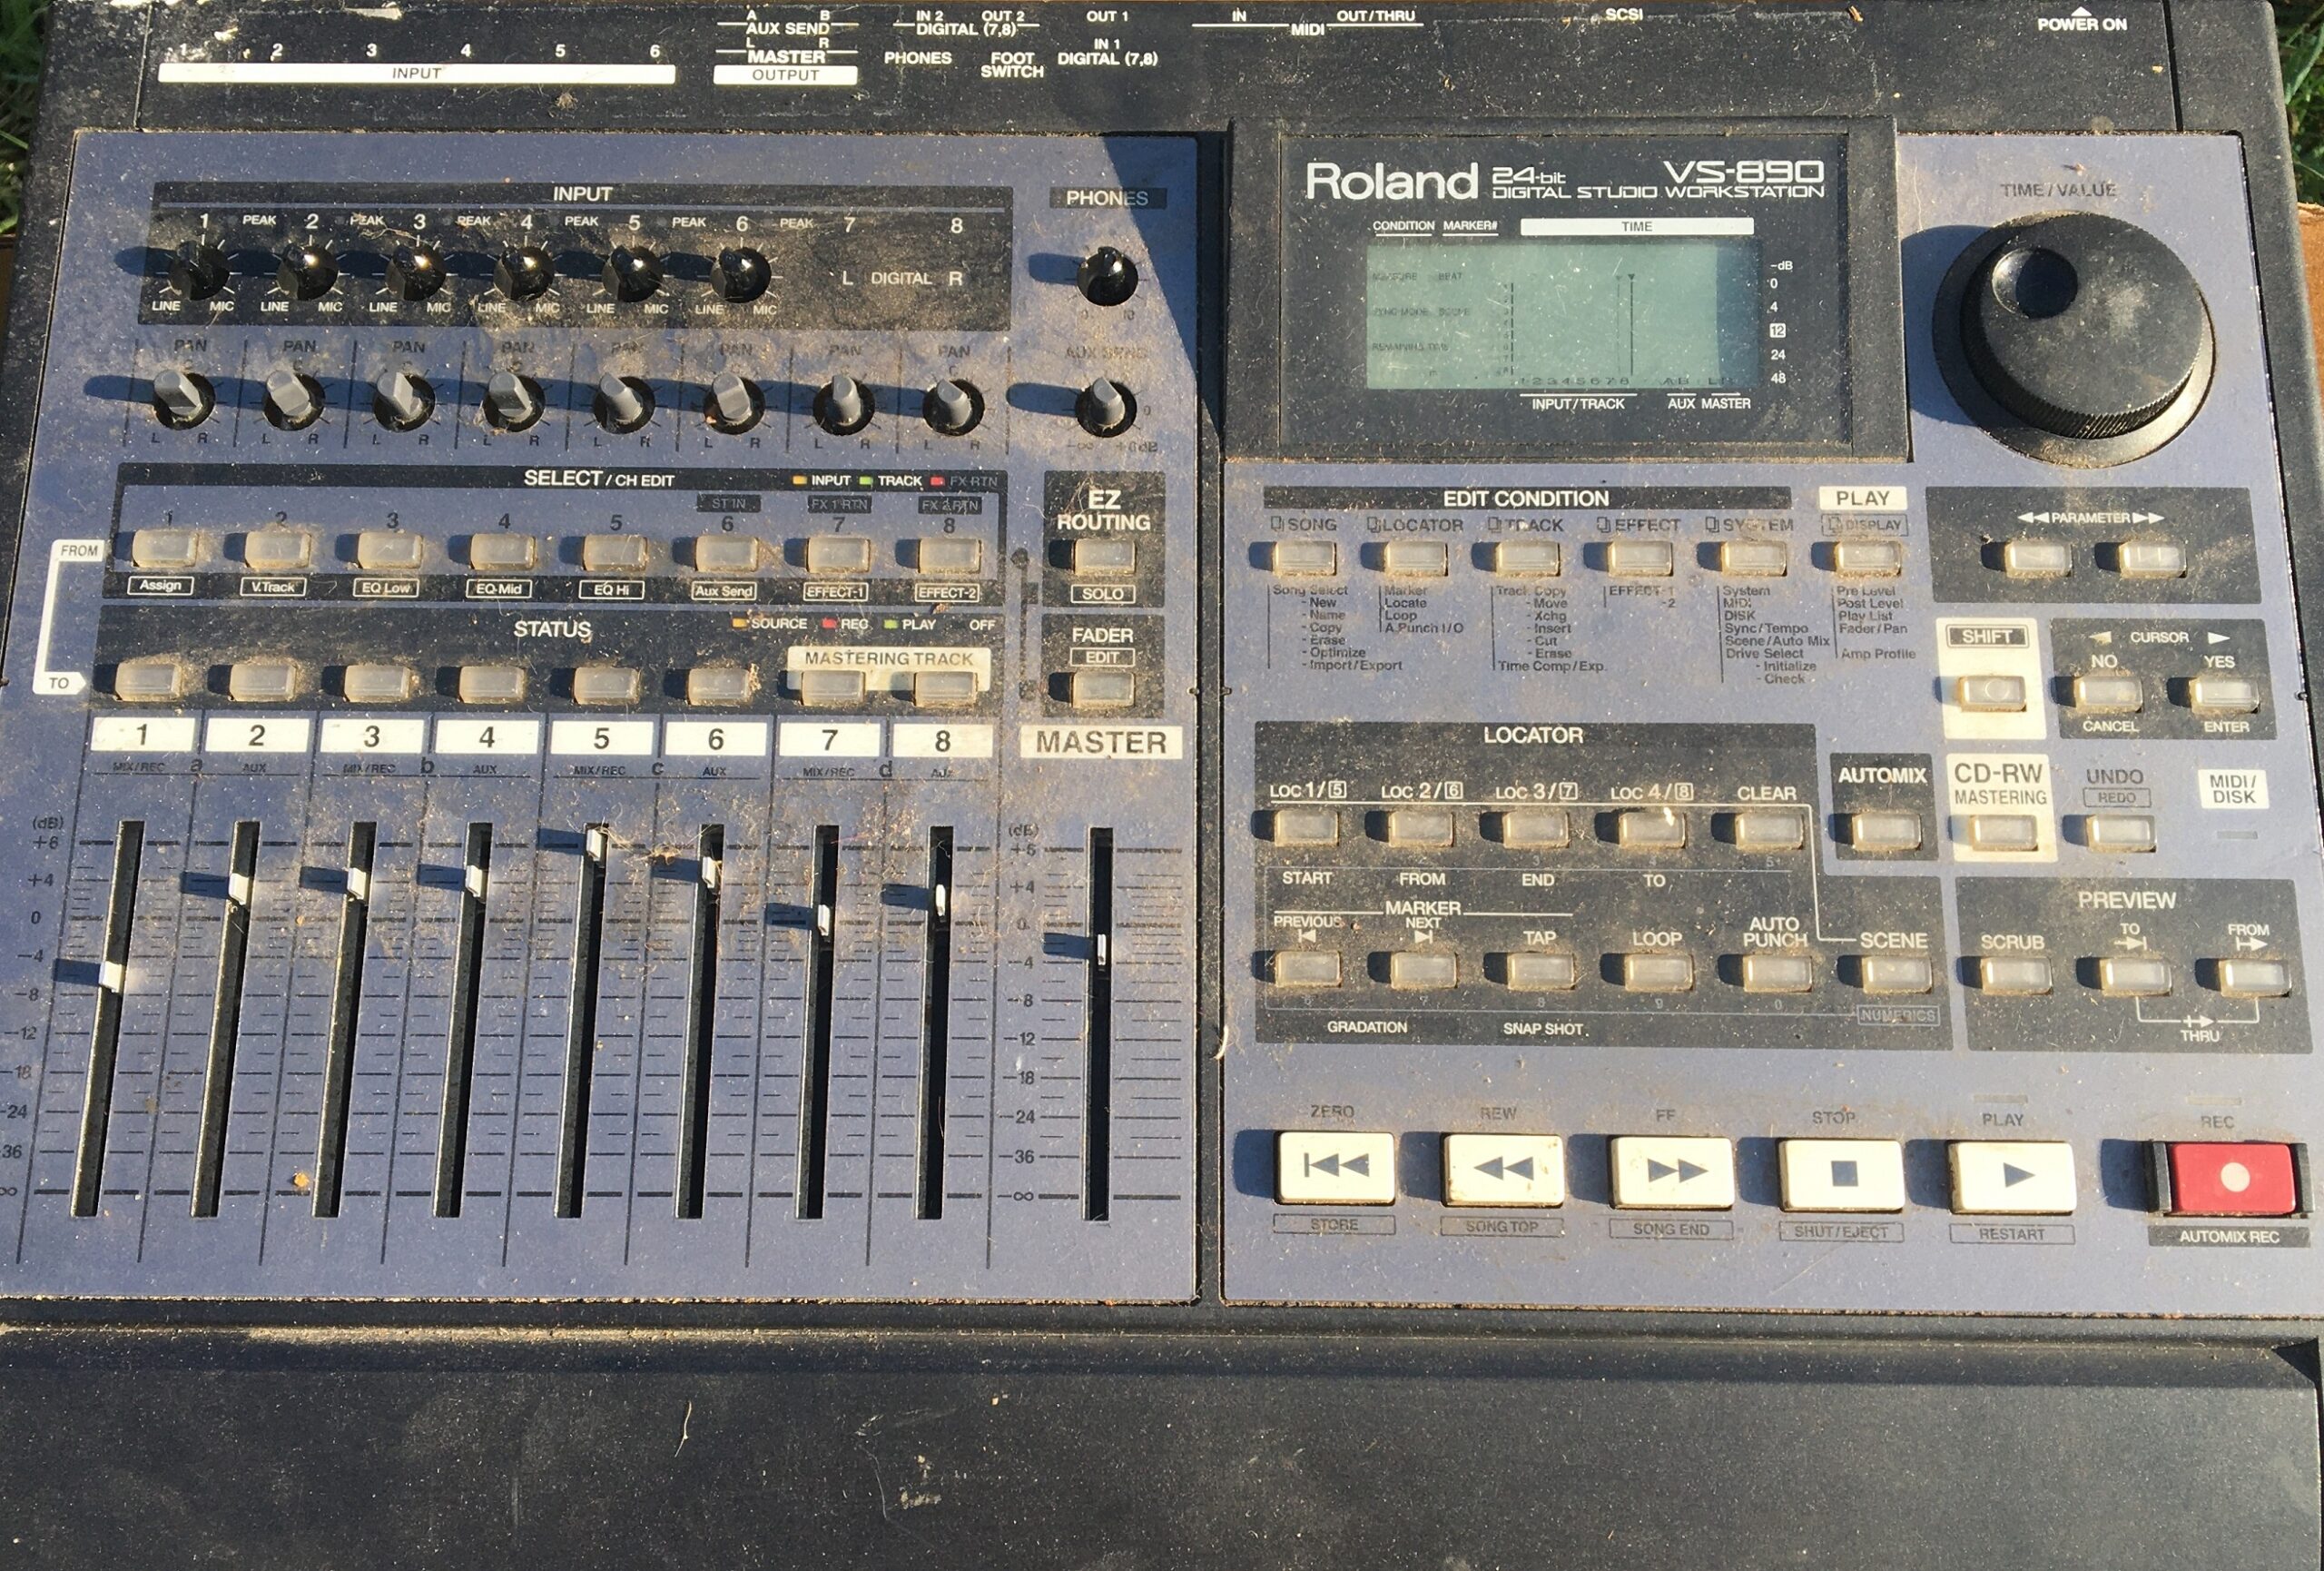
I recently received what I believed to be a score on a few Roland VS-890’s that needed a few “minor” repairs. What I actually received was probably the most disgusting machines I have ever seen.
After peeling off the crapply applied bubble wrap that looked like it was pulled from the basement of a 1980’s crack house. I quickly realized, the machines were ten times worse. The picture above is just a small intro on how nasty they were.
Now a novel could be wrote on just cleaning these disgusting machines. I have decided to break it down in to parts for some one that just bought a machine that they would like to clean, repair and refurbish.