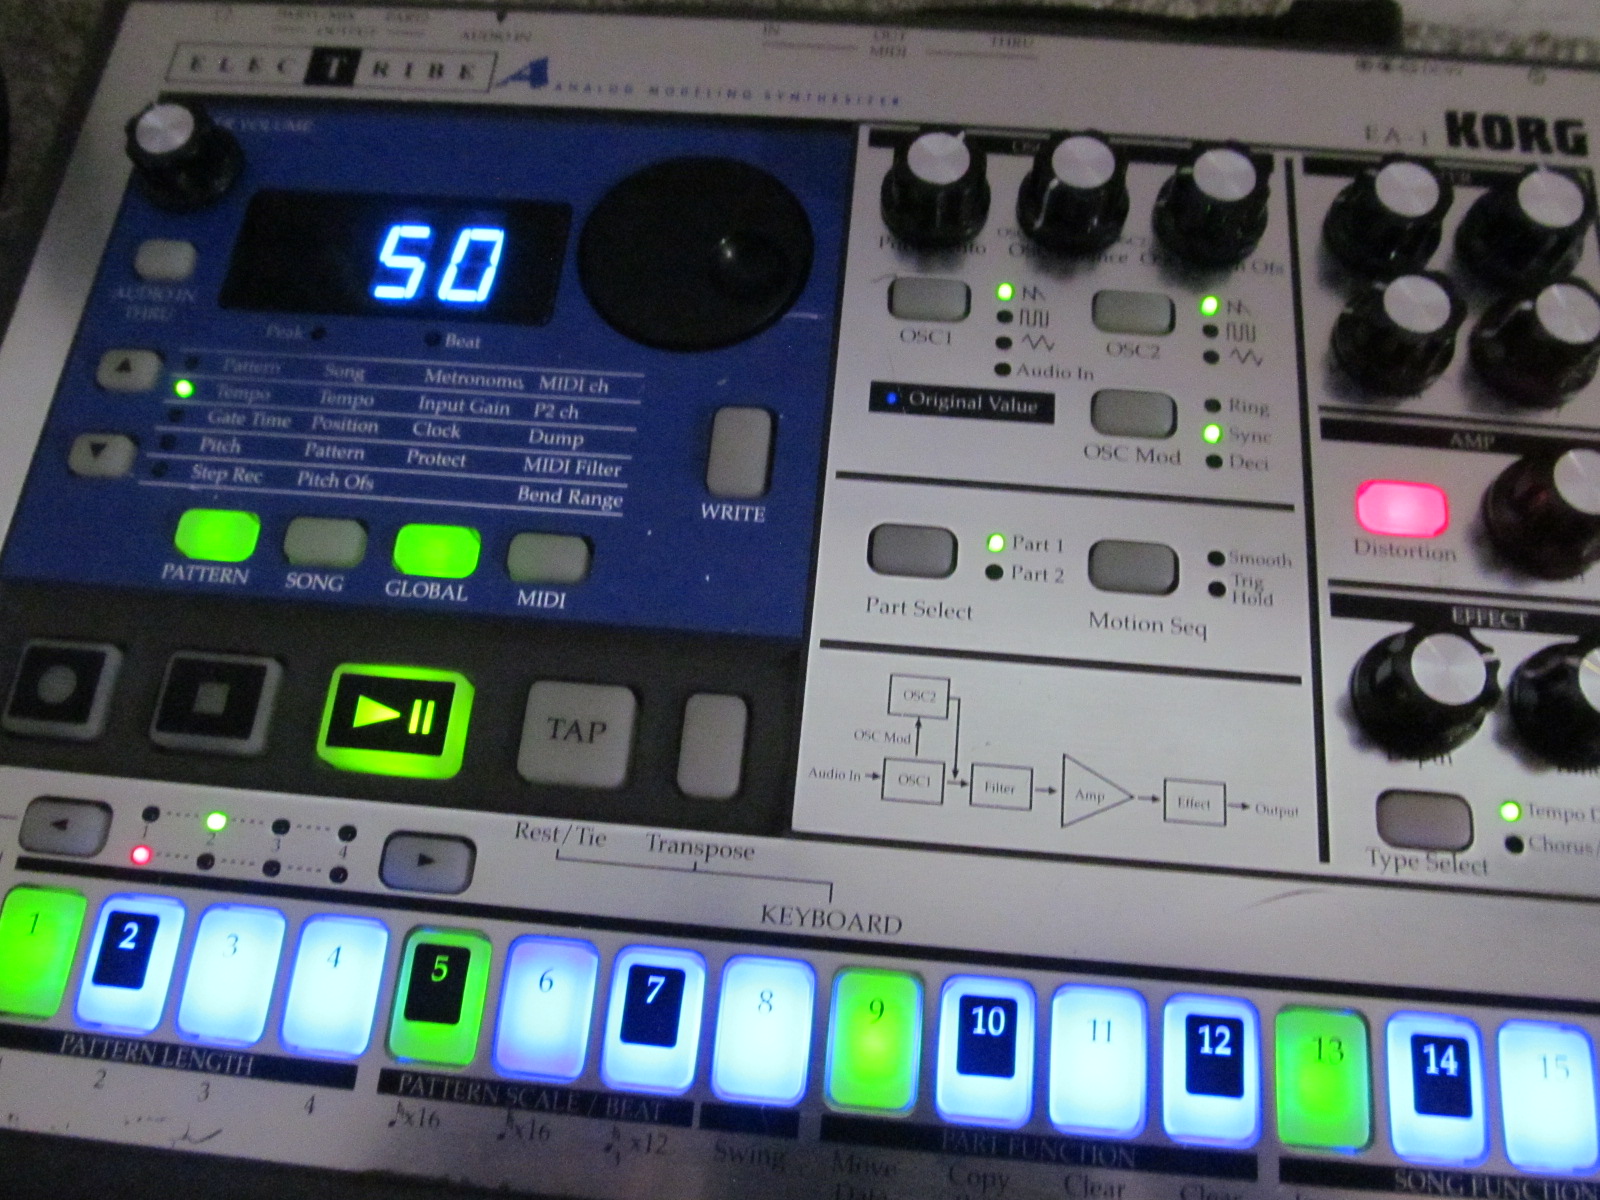
Roland VS890 VS880 Disassembly & Opened Up
Taking Apart & Opening a Roland VS-890
From the top to the bottom, bottom to the top.

Pull out all the screws circled in pink and the the two screws pointed at in the bottom left.
You should now be able to remove the back plate.
Serial Numbers, are they Important?
No. These machines are 20 years old. Parts have been mixed, matched, swapped, etc. These three 890 machines will all be mixed between each other and supplied with new non OEM parts once I am done. My thought is the final version should have a serial number. If you are refurbishing a unit include the original number. If you are mixing parts use your own number, and keep track of it. Just a thought.
To me it is good practice to write down the serial number of the machine on a piece of paper. I do this for a few reasons. One, I want to keep record of what I’ve done to it incase I randomly buy it back. Two.. Just write down the f**king number, it will be added to the back later.
Remove All Screws, a good time to start chewing n’ pill poppin’.
Snuff and snuss containers work great for screws. Pill bottles too. All the screws are the same size with the exception of the ground screw, so it’s easy to see where it came from. Personally even though all screws are the same, I would put all outside screws in one container. Bottom screws, and back screws for the midi plugs, RCA, etc., every screw on the outside.

I tried to mark the plugs in yellow that will need to be unplugged. most can just be pulled out. Screws are marked in pink circles.
The Black cable is old school you will need to pop up the tabs on the left and right side, once both sides are popped up you can pull up the cable.
When putting this cable back in you will need to insure all individual wires are in the correct spots.
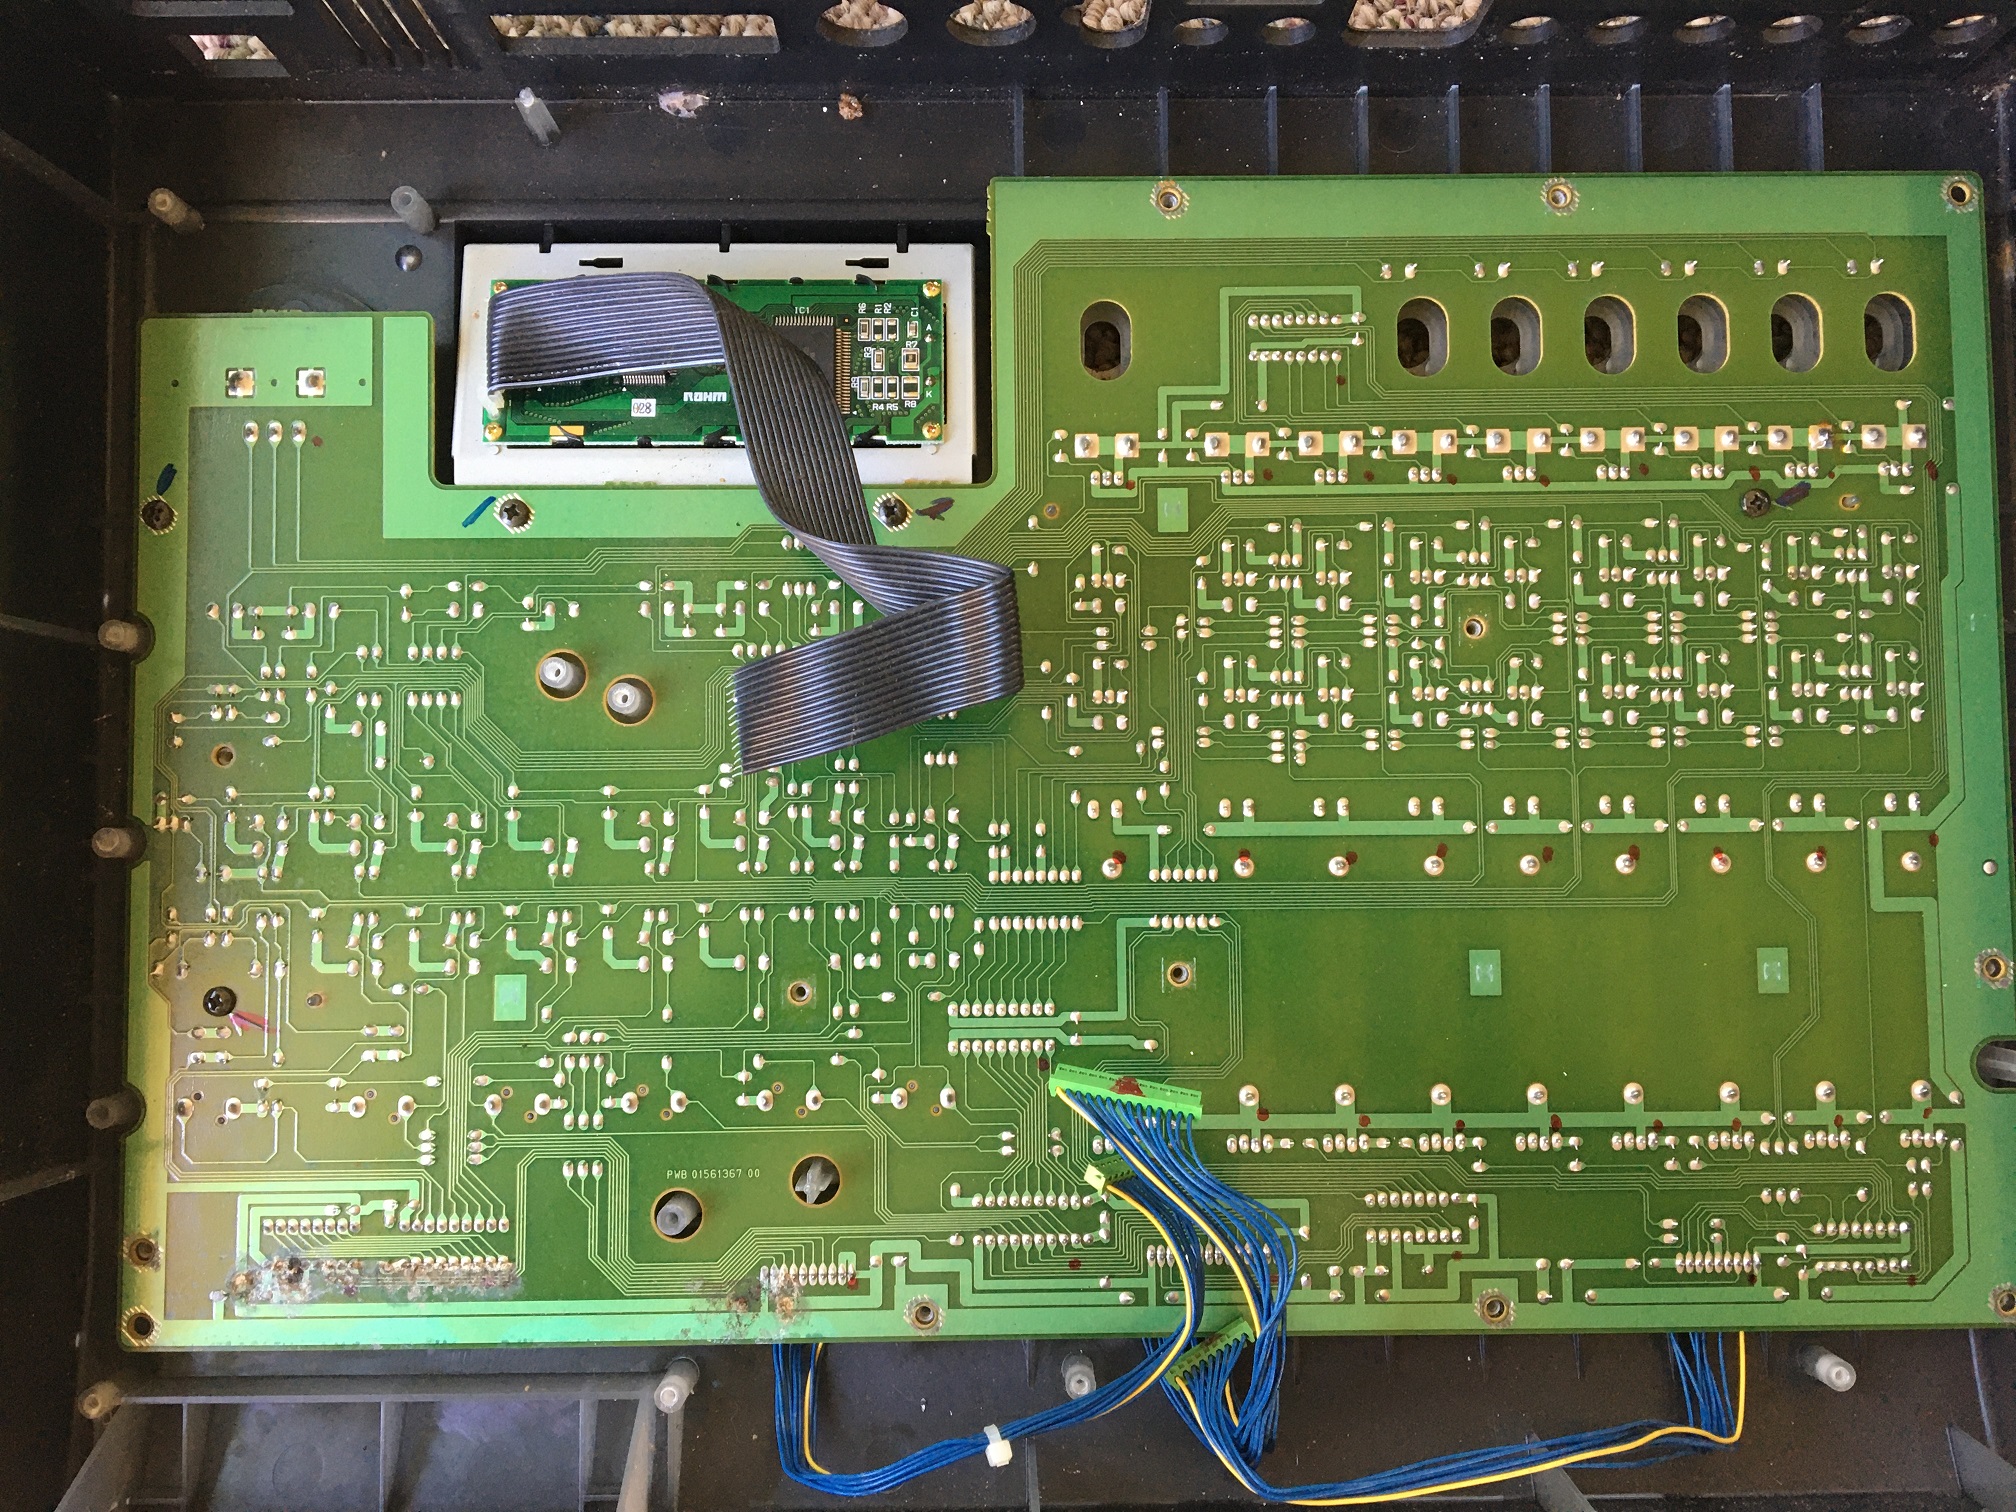
Pretty much all screws that are visible need to be removed. Once the main board is out there will be more screws for the bottom plate. These screws are all the same so there is no need to separate them.
Unscrewing the hard drive caddy, and power supply boards on the upper left should be pretty easy.
Pulling the main board out is another story. Do Not Force It.
Gently pulling up on the board while making sure the potentiometers clear the top (front) of the casing while the plugs against the back are pulled free, this will release the board. Make sure the screws on the backside and the inside medal plate of the casing have been removed. Once the power supply, hard drive and main board have been removed the machine should only have the bottom plate left.
Time to start drinking and smoking cause the rest is easy cheesy son. any visible screw needs to come out. All those blue wires can be pulled out of the plastic connections. At which point pull out the metal plate.

There are only a few screws to get this board out so it can hurt to mark the screws holes with a different color. The last thing you want to do is screw in a spot that is made for the next board up.
Once the screws are out you can easily pull up the board and the display can be pulled up as well.
You now have an empty case.
Refurbishing the Roland VS890
You May Also Like
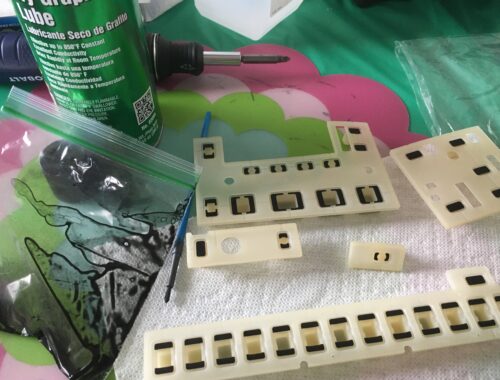
How to Re-Carbon Rubber Pads for Roland SP Samplers & Korg Electribe Using CRC Dry Graphite
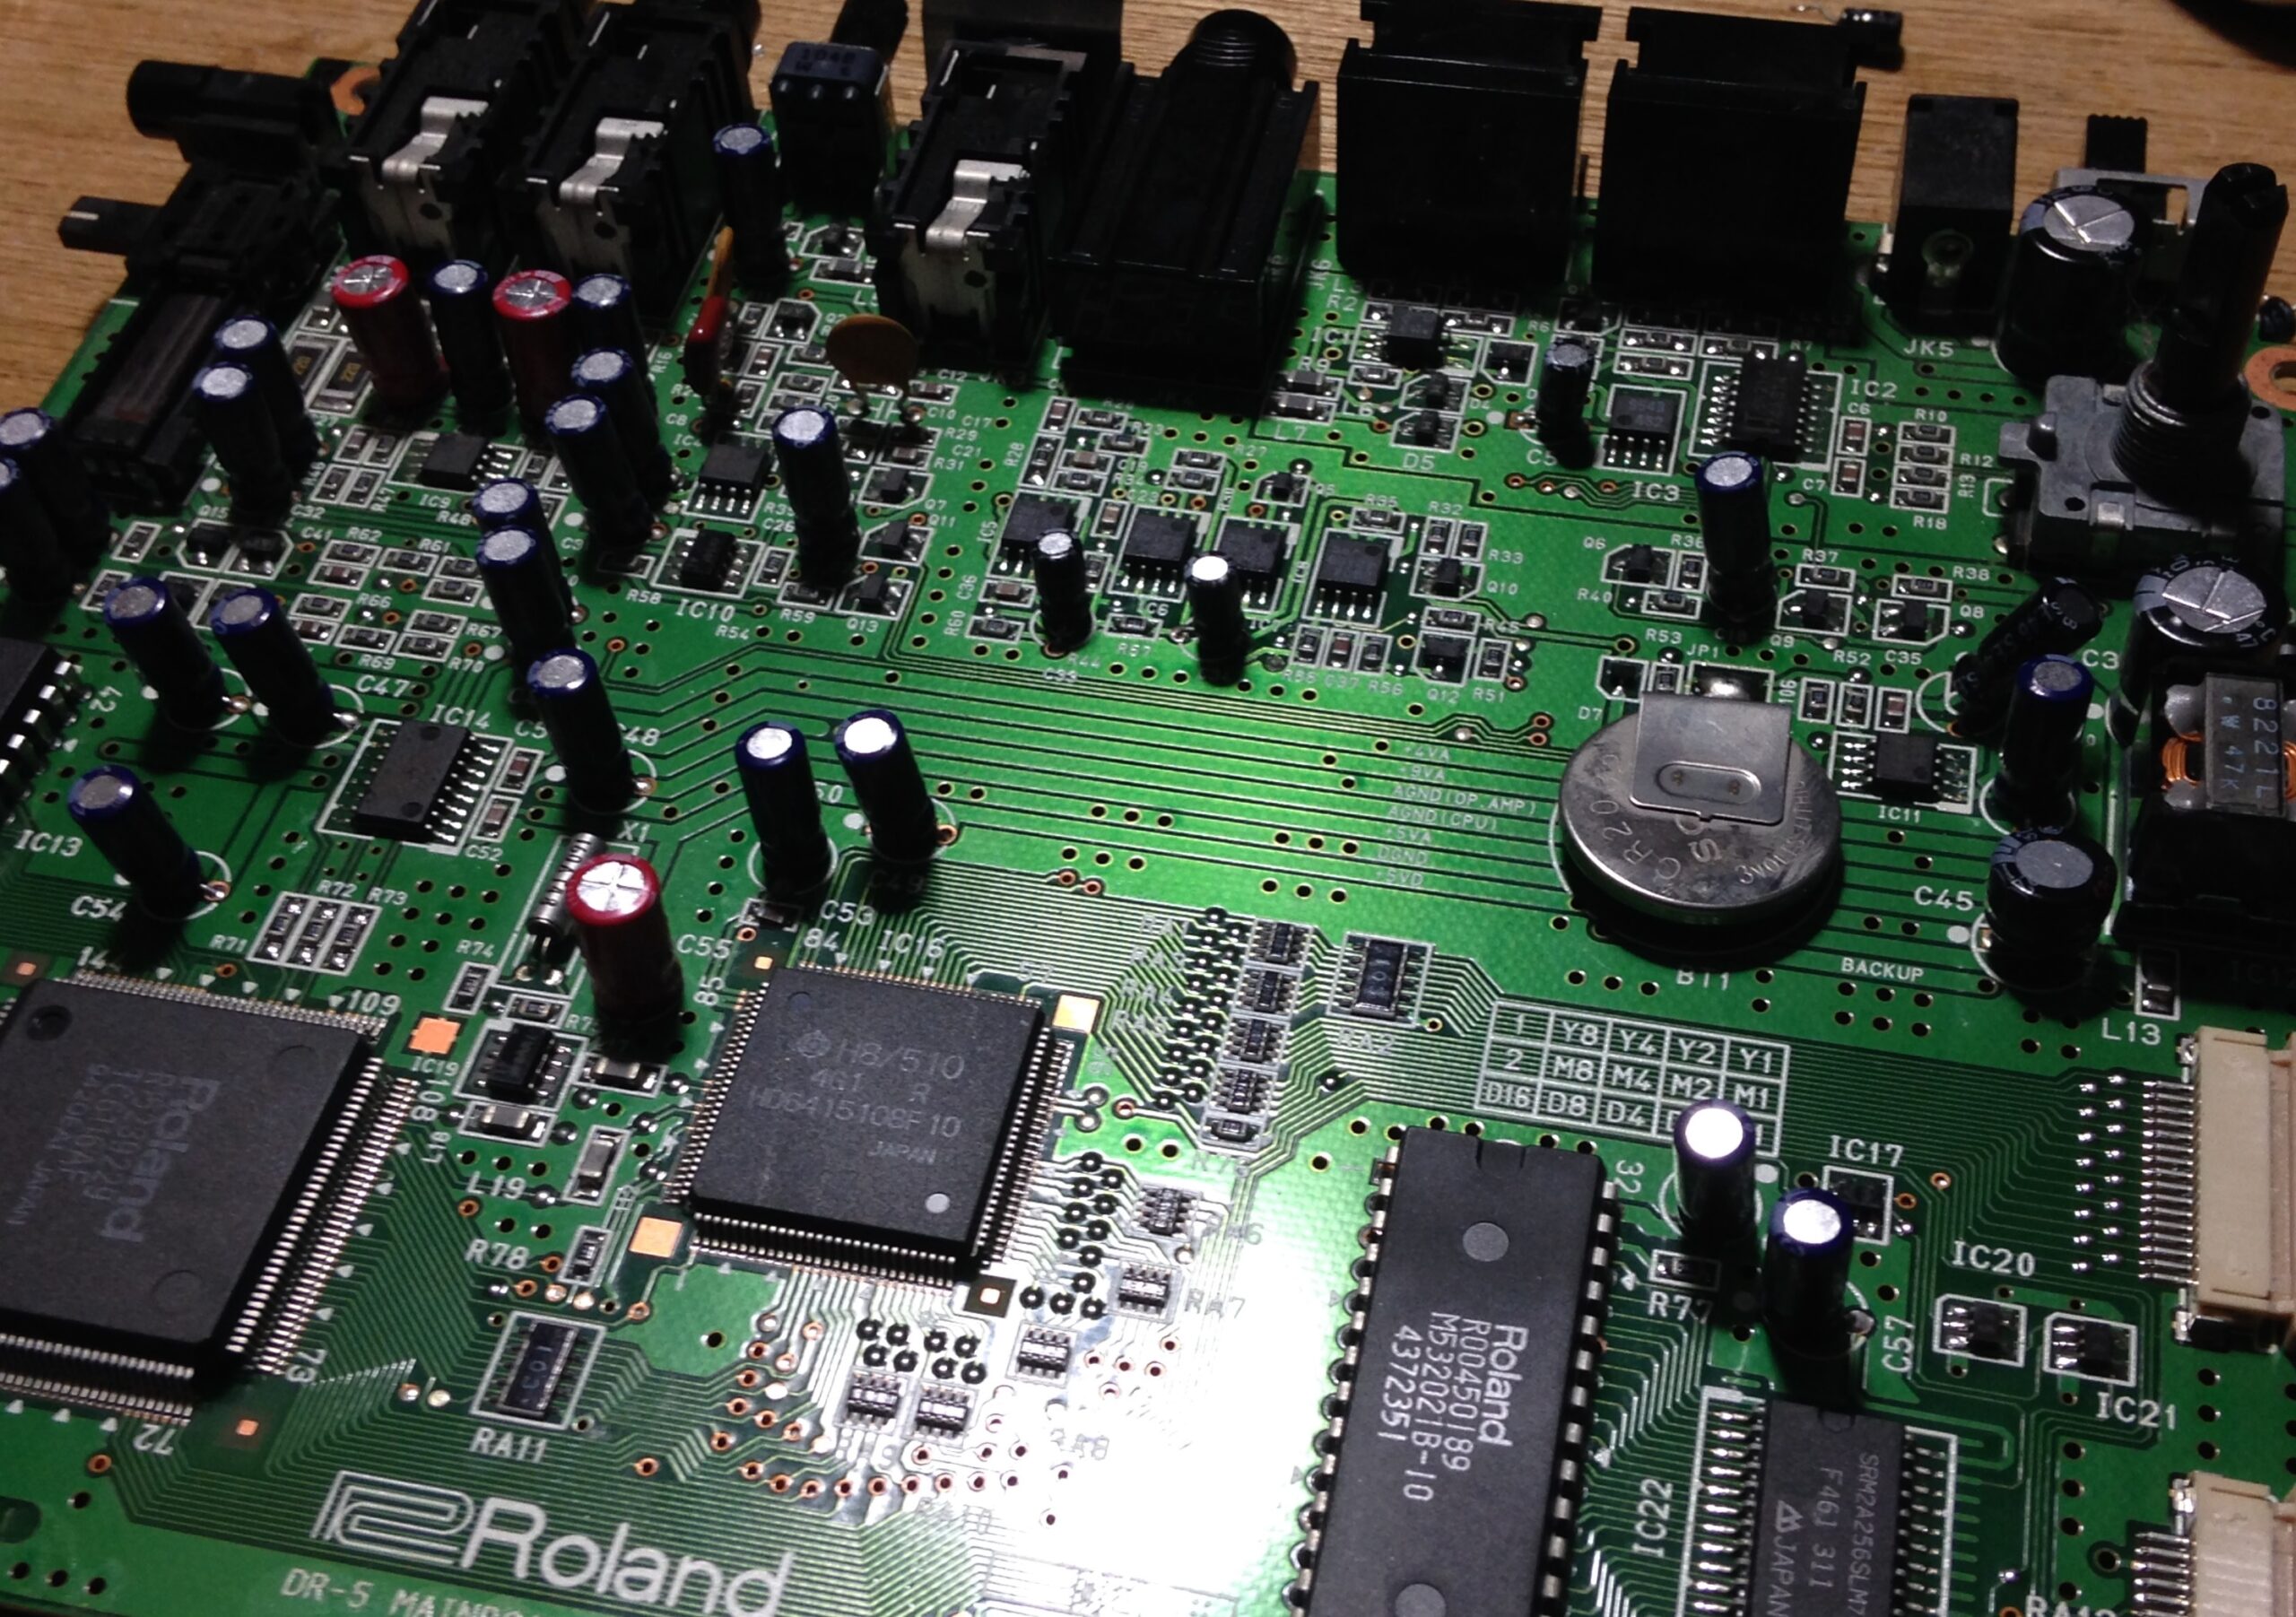
ReCapping an Old Drum Machine Boss DR-5 Experiment