How to Re-Carbon Rubber Pads for Roland SP Samplers & Korg Electribe Using CRC Dry Graphite
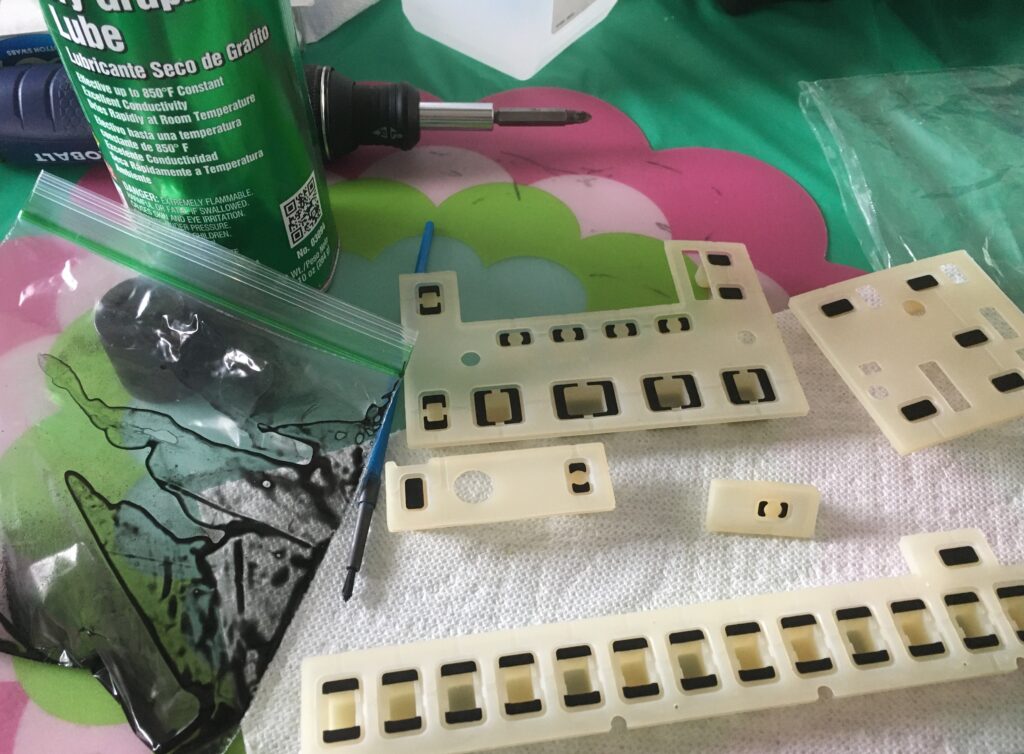
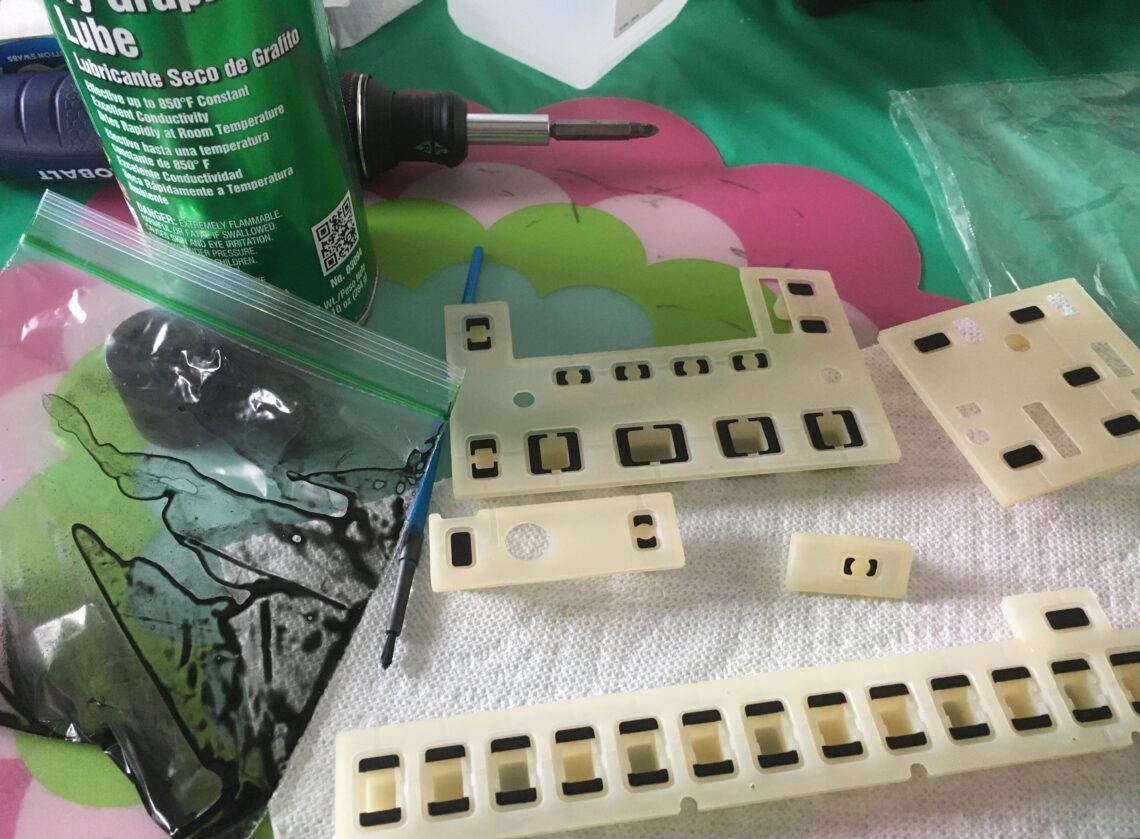
I have had a lot of people ask about this so hopefully this article helps on fixing dead unresponsive pads. This method has been used on tons of Electribes, Sp-404’s, 303’s, 202’s etc.
This will work for any conductive pad repair, TV remotes, etc. Feel free to ask any questions below in the comments.
There is also the recommendation of using CaiKot 44, Conductive Silver/Carbon Coating. This will eventually flake off into your machine. Possibly frying it, or creating a hard to clean mess if not caught early.
If your pads on audio equipment like the SP404, 505, Electribe EA-1, ES-1, ER-1, etc., are wearing out over time, leading to reduced performance and stability. Re-carboning these pads is a common maintenance task that helps restore their conductivity and functionality.
CRC Dry Graphite is a popular choice for re-carboning, offering a durable and effective solution.
Step 1: Before starting the process, gather all necessary supplies.
You’ll need CRC Dry Graphite, rubbing alcohol, a fine point paintbrush (a cheap watercolor paintbrush works fine for this purpose, cutting it short helps).
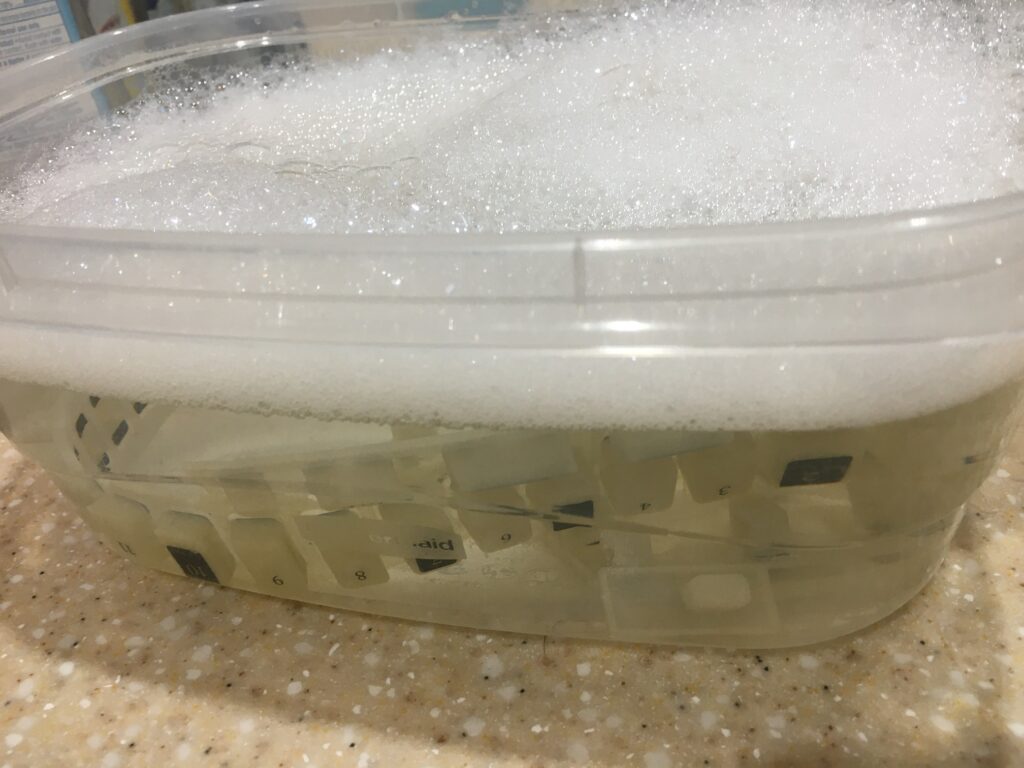
Step 2: Clean the pads. Soak them in warm, soapy water to loosen any dirt, dust, or debris. Then, use a toothbrush to “gently” scrub the pads and remove stubborn grime. They are silicone and can take a beating. I have read about people ripping pads, not sure how they are tearing them but using a toothbrush and firm pressure I have never ripped a pad. Rinse thoroughly with clean water and allow the pads to dry completely before proceeding.
I tend to pat dry on a dish towel then let a fan blow on them overnight.
Step 3: Spray CRC Dry Graphite into a clean sandwich bag. Seal the bag securely and use the fine point paintbrush to dip into the graphite. Carefully paint the graphite onto the rubber pads in smooth, even strokes. Ensure thorough coverage while avoiding excess buildup.
In the picture below on the SP-404 pads you can see the difference of the left three compared to the rest to be painted.
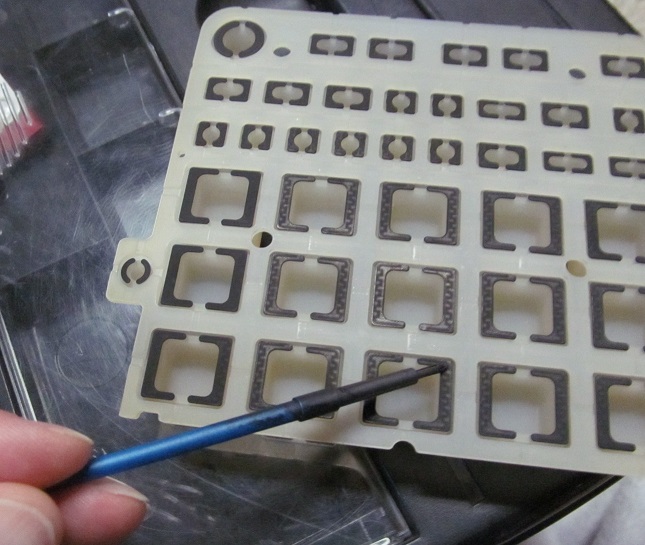
Step 4: Allow the graphite to dry completely before applying additional coats or using the equipment. This typically takes a few minutes, but I recommend letting it sit under a warm light. Then I usually apply another coat.
Step 5: Look for any stray graphite on non-conductive areas. If found, clean with a cotton swab dipped in rubbing alcohol. Gently rub it off until the residue is removed, this ensures only the intended surfaces are coated and the pads don’t randomly trigger.
Re-carboning dead unresponsive pads for audio equipment using CRC Dry Graphite is a simple yet way to significantly improve performance and refresh your old equipment.
You May Also Like
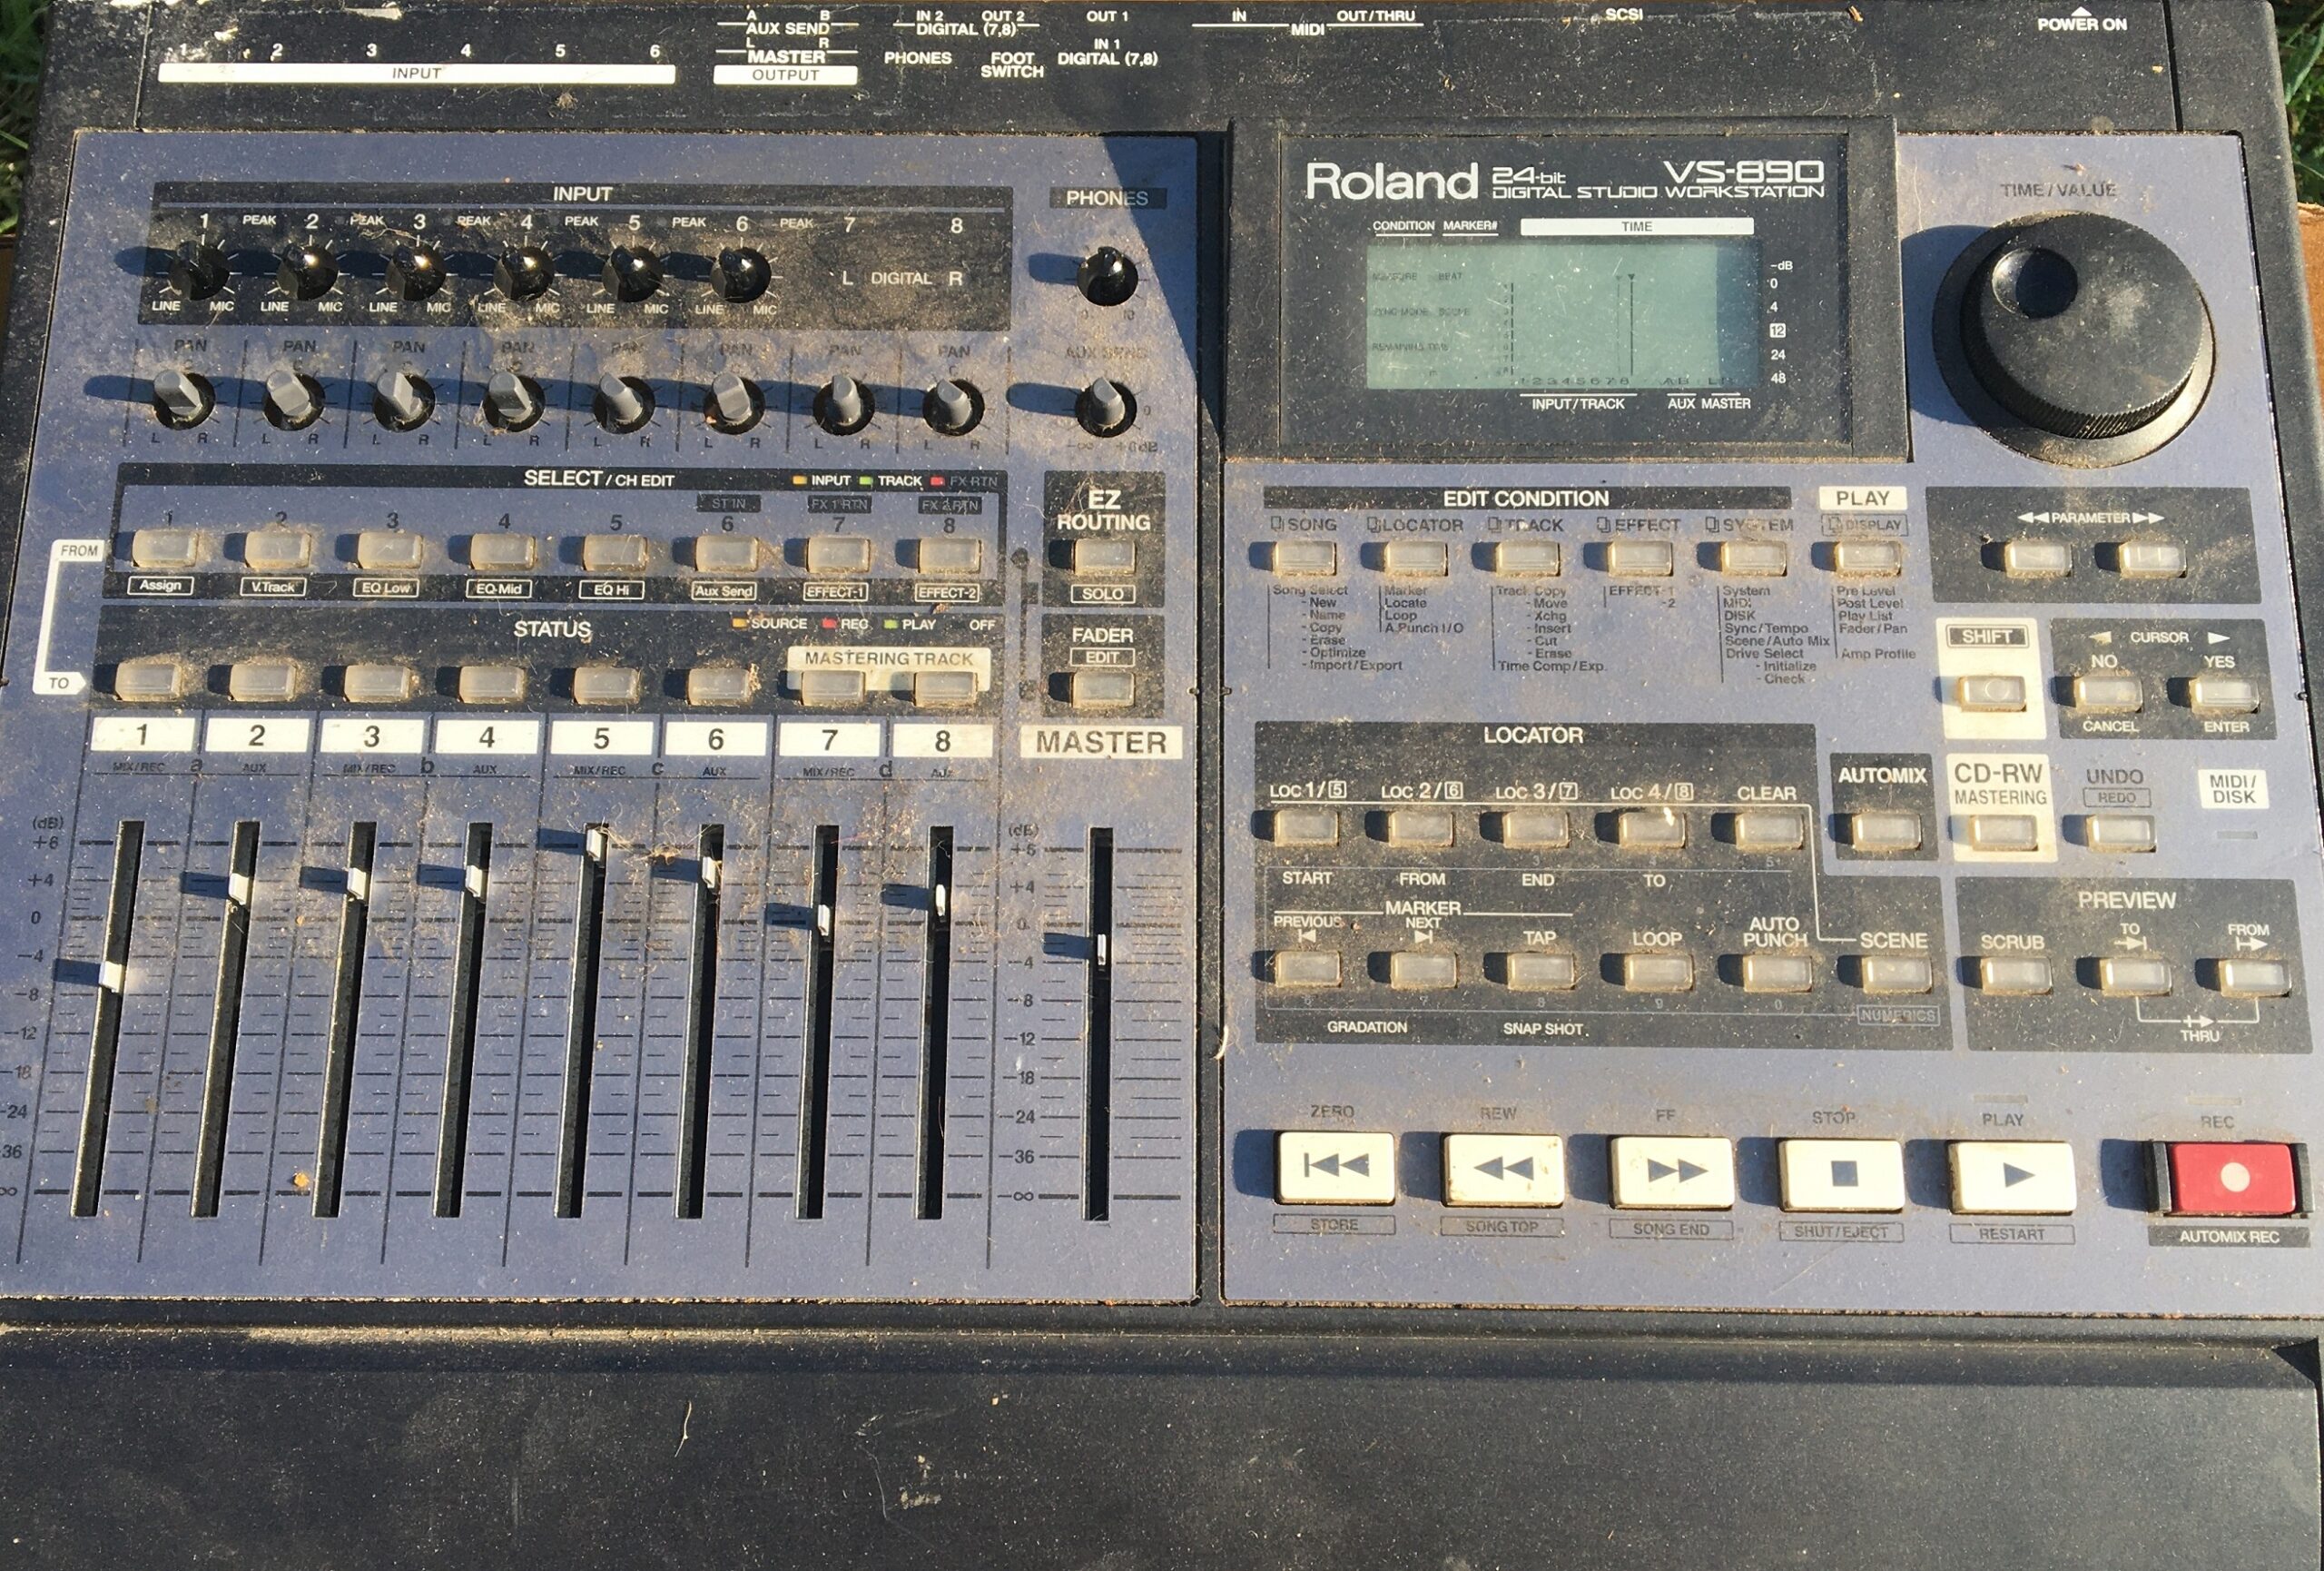
Refurbishing the Roland VS890
August 21, 2021
Using the Denon DS1 as an Audio Interface with Rekordbox
June 24, 2024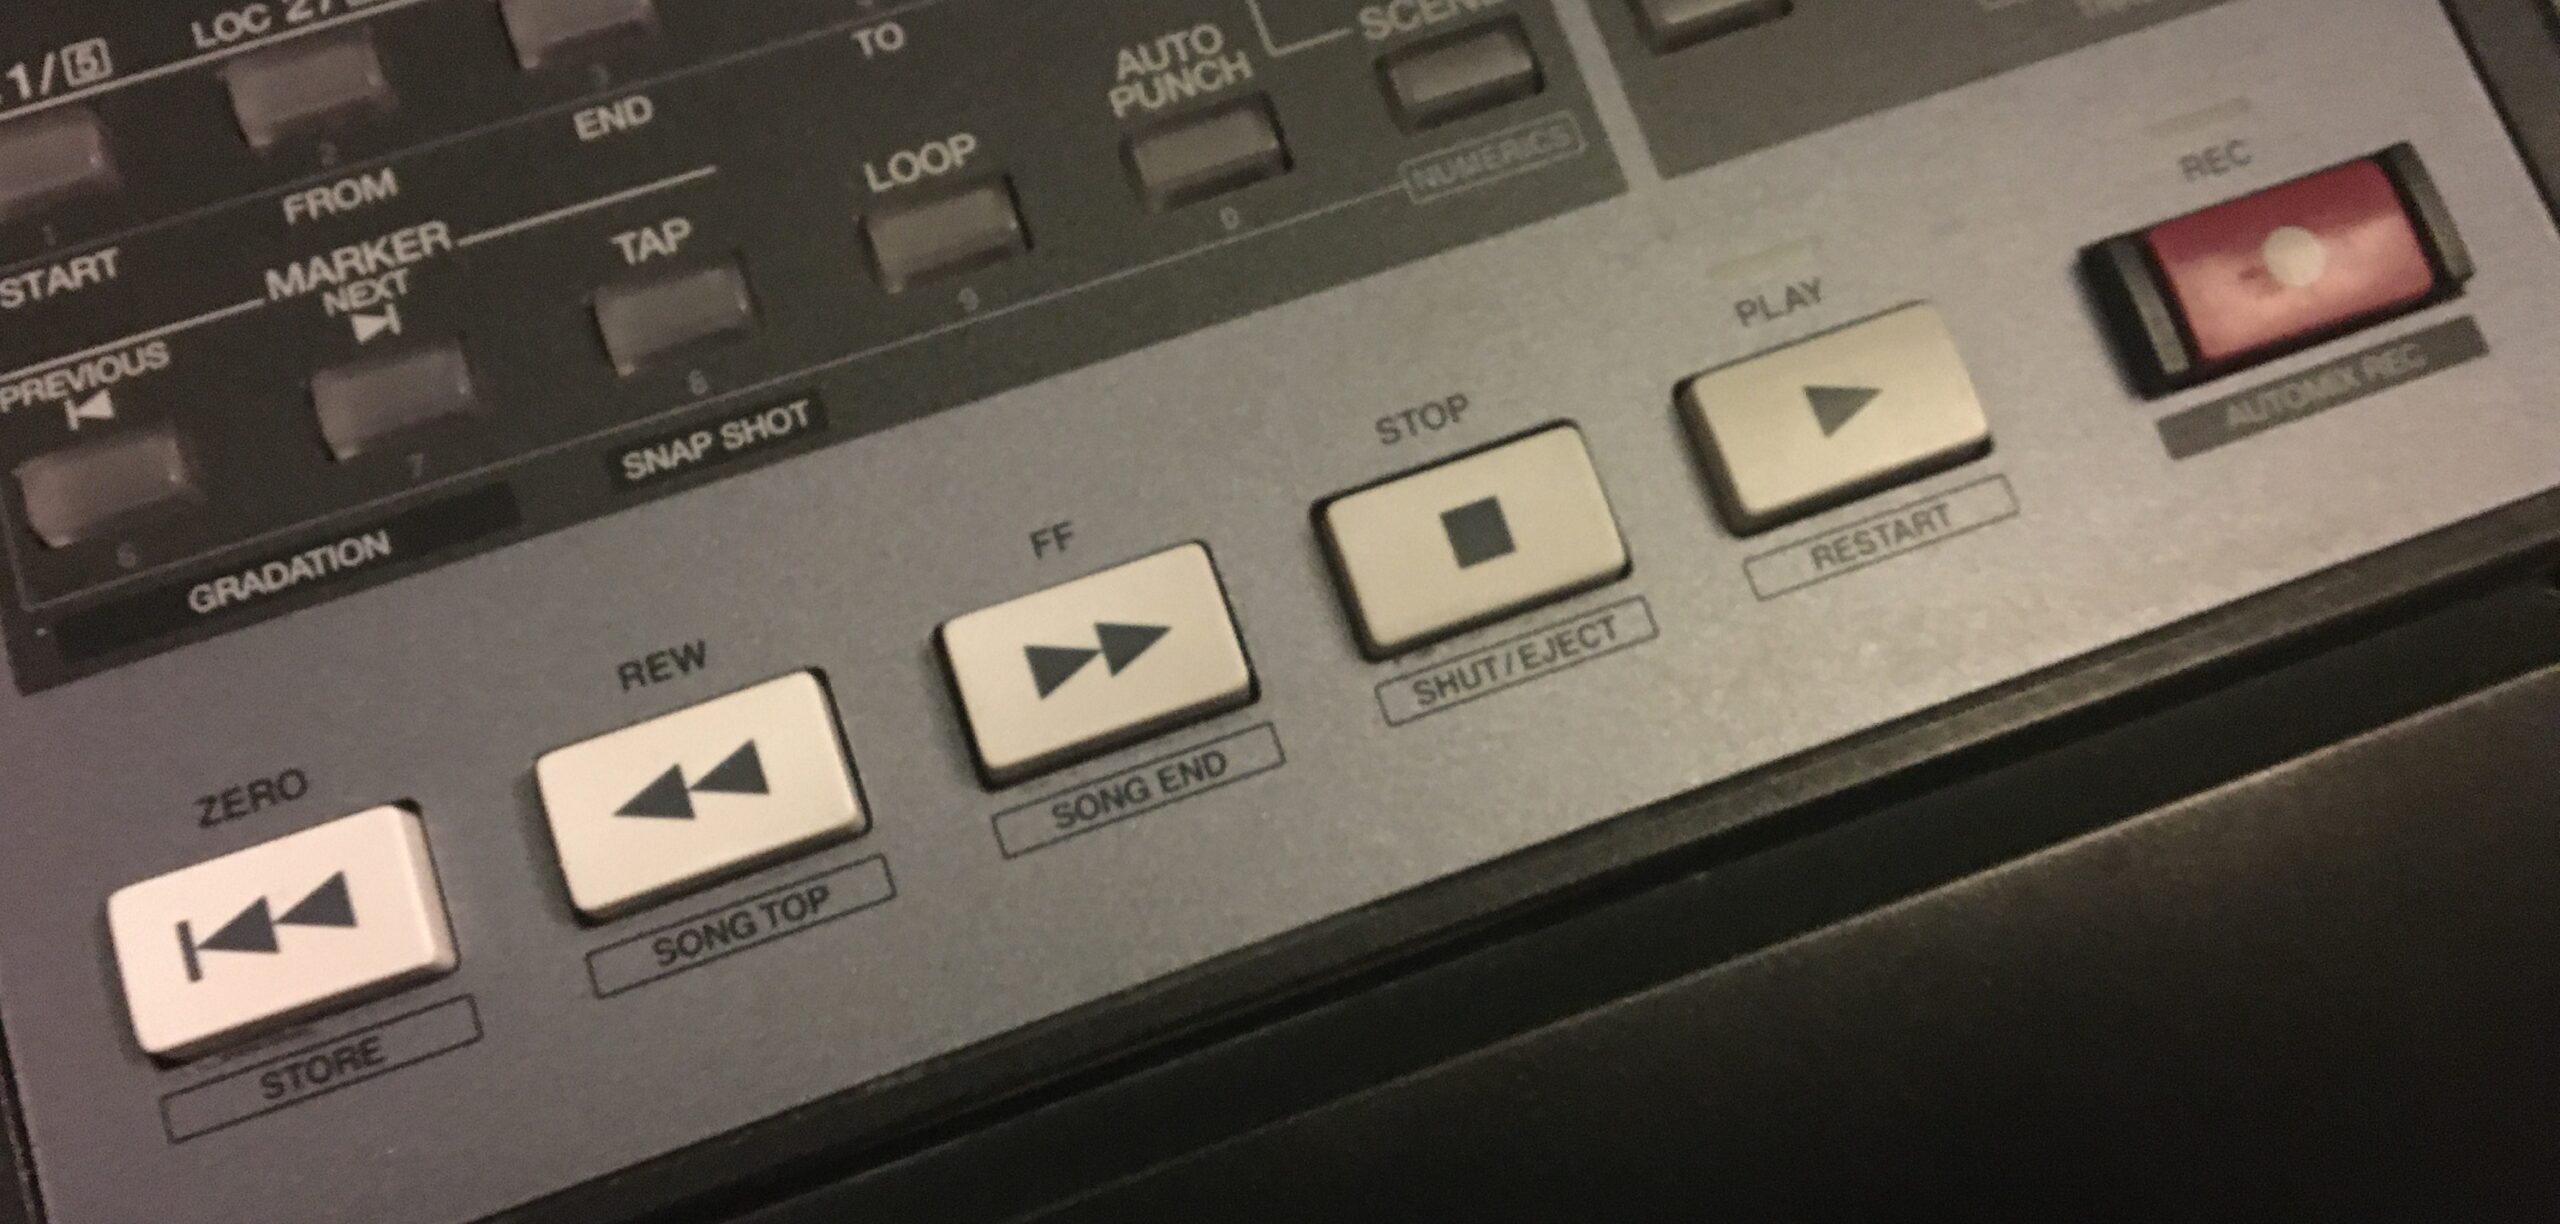


4 Comments
dion garcia
can this work if the pads are ripped like your roland vs machine? cant seem to find any replacement switches out there founs dimilarbut with 6 legs. will it work if i cut oiff 2 of them?
admin
Hi. I am confused by your question. If you are referring to the Roland VS transport buttons Roland VS Transport Button Repair and the little internal pad is ripped you will most likely need to replace it. Not sure what switch you are referring to but if you can find one similar it might have the same little pad inside of it.
Daithí
How does the graphite adhere to the pads? I can’t get CRC in my region but can get a graphite lubricant bottle iit’s marketed as being for lubricating door locks and the like. Should that work? Thanks.
admin
I think it sticks on with isopropyl alcohol that quickly evaporates. I would think that the powder you can buy could be mixed with isopropyl alcohol and mixed together painted on and it would have the same result.