Refurbishing the Roland VS890
The DIY for repair, cleaning and Refurbishing a Roland VS-890 and VS-880
I think the easiest way to do this refurbish and DIY for another to repair their unit is to break it into parts.
–Cleaning the Roland VS-890 VS-880
–Disassembly of the Roland VS-890 VS-880
–Cleaning Knobs and Buttons
-Slide Fader and Tact Switch Replacement
-Transport Button Repair
Once fully dissembled per part to cleaning will continue in part one.
Part 3 will have to do with repairing and replacing parts in the Roland VS-890-880.
As this project is dedicated to the Roland VS-890, parts and all will be the same for the VS880.
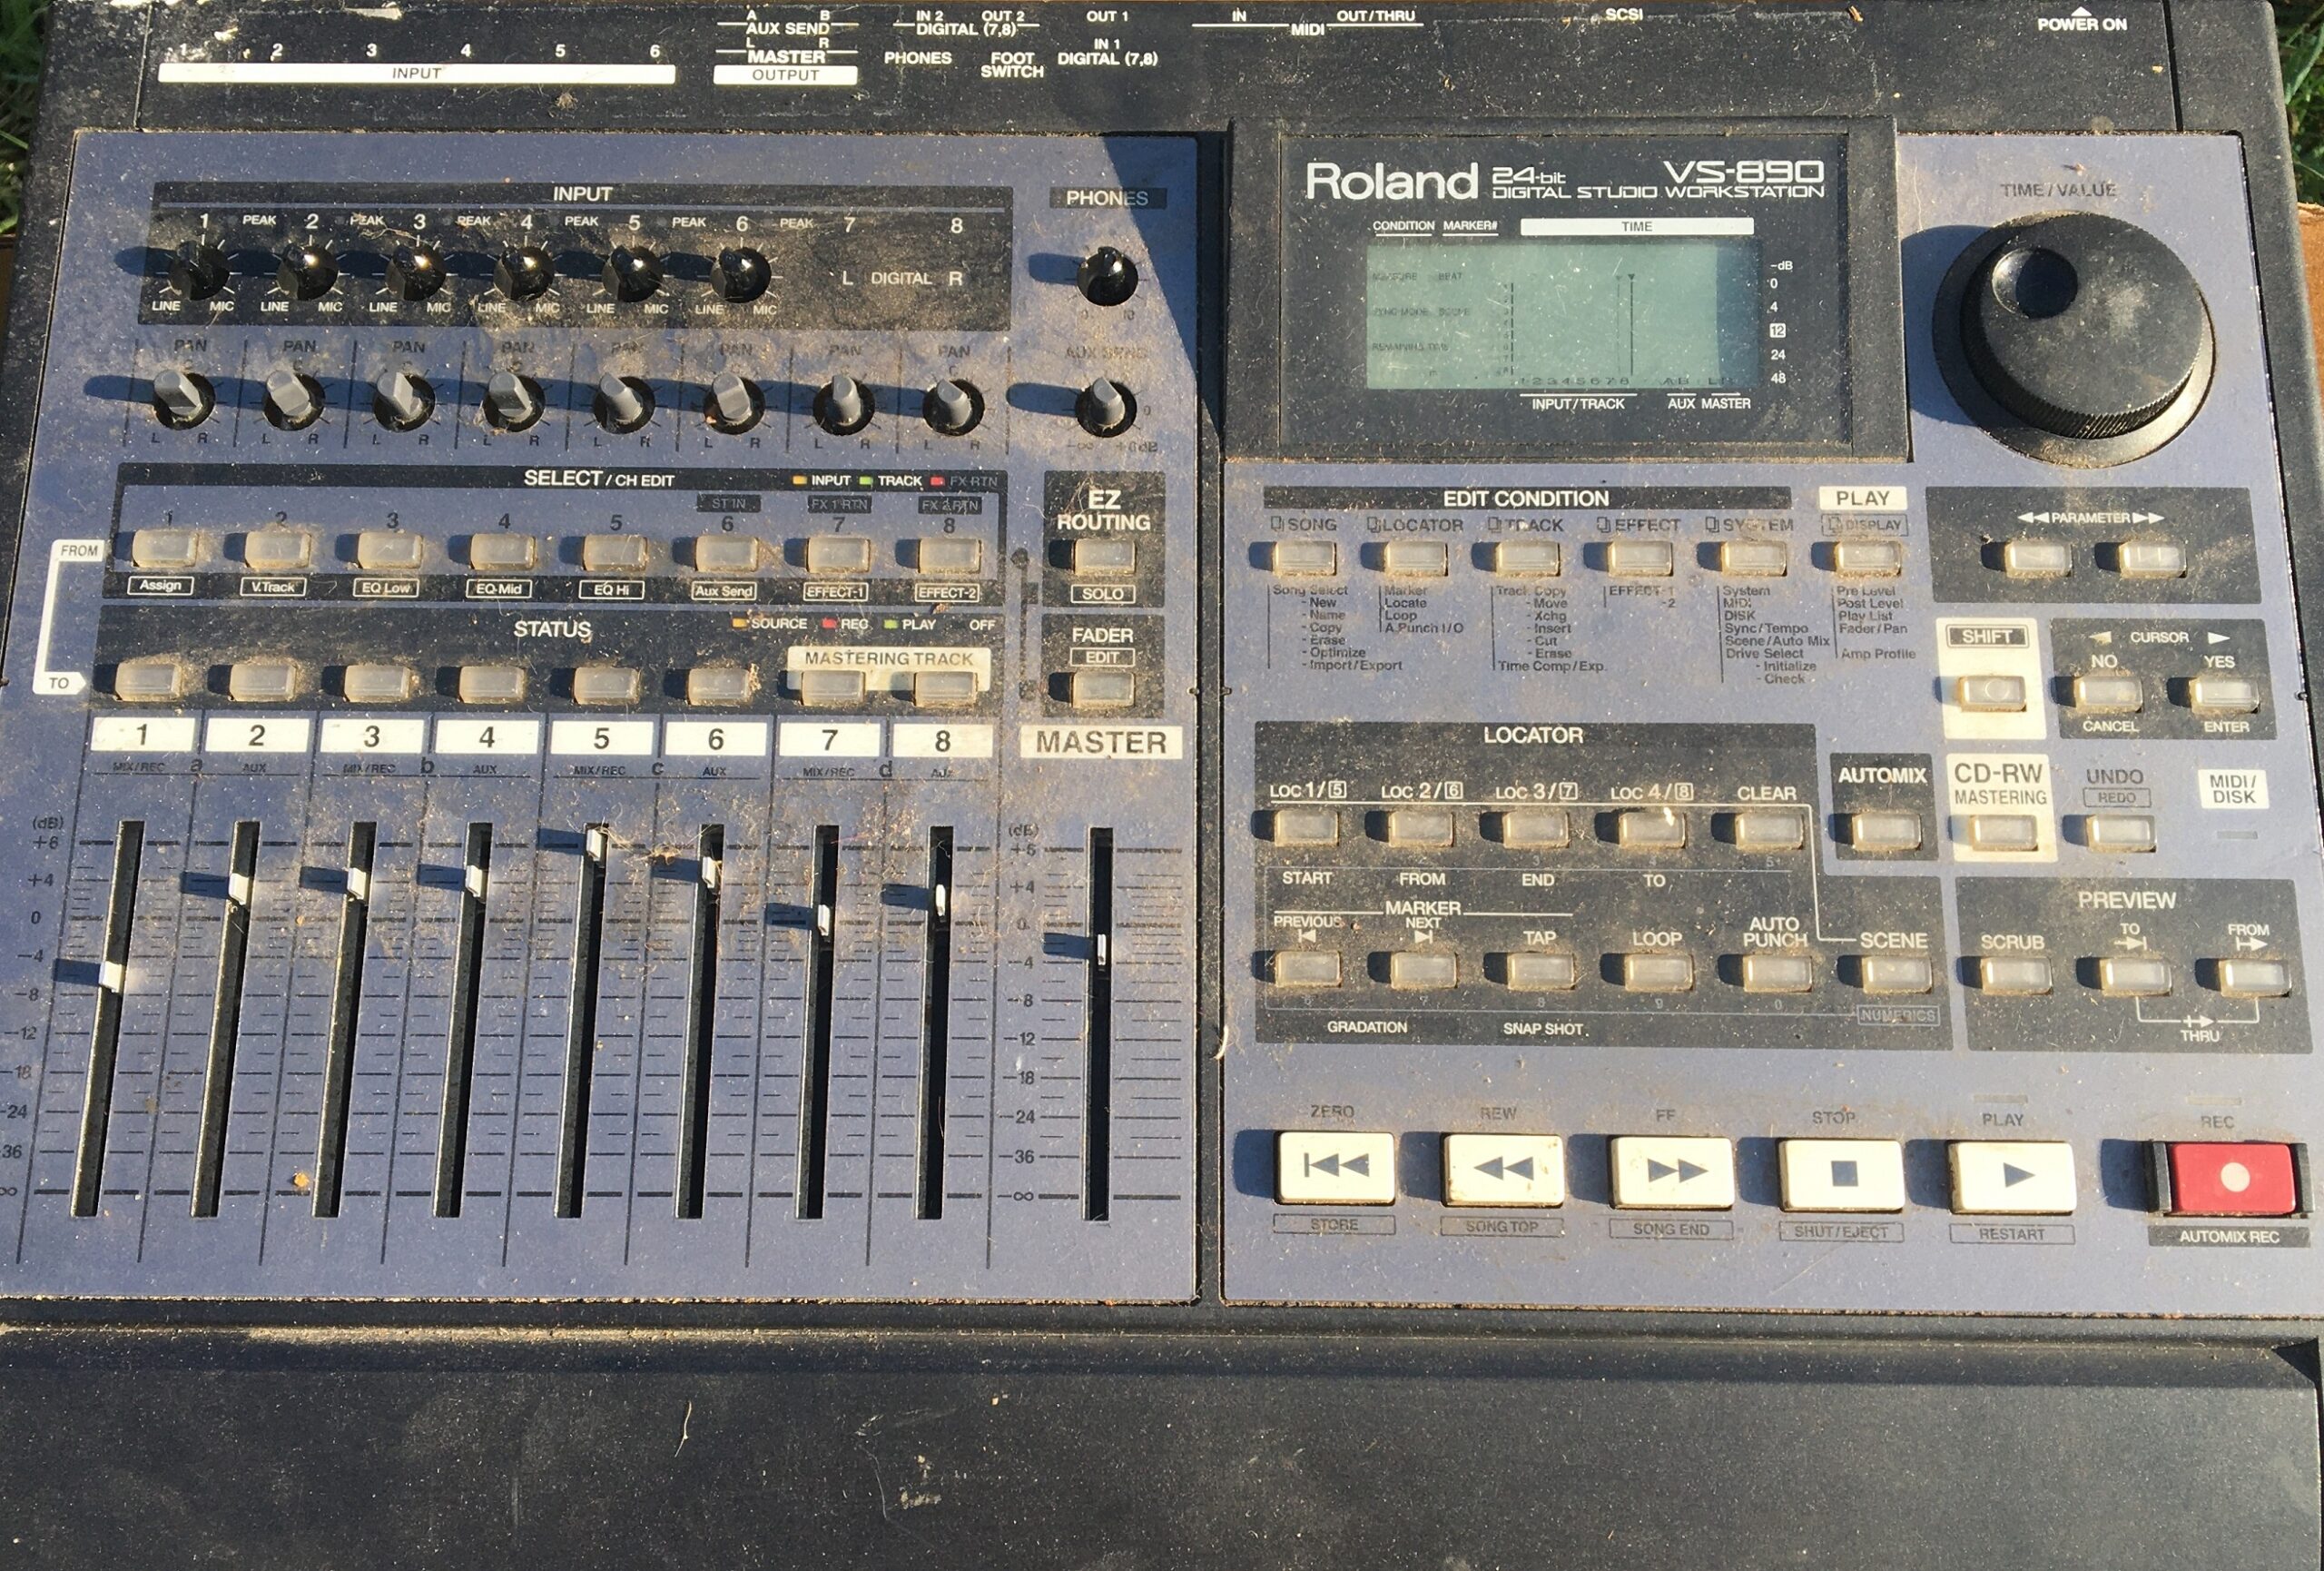
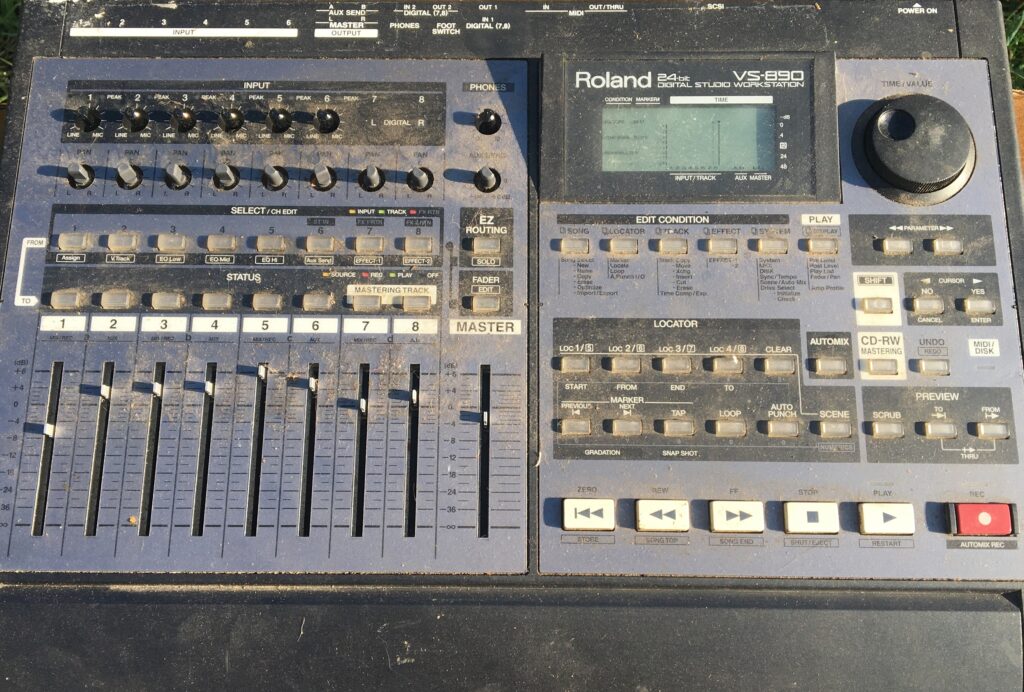
I recently received what I believed to be a score on a few Roland VS-890’s that needed a few “minor” repairs. What I actually received was probably the most disgusting machines I have ever seen.
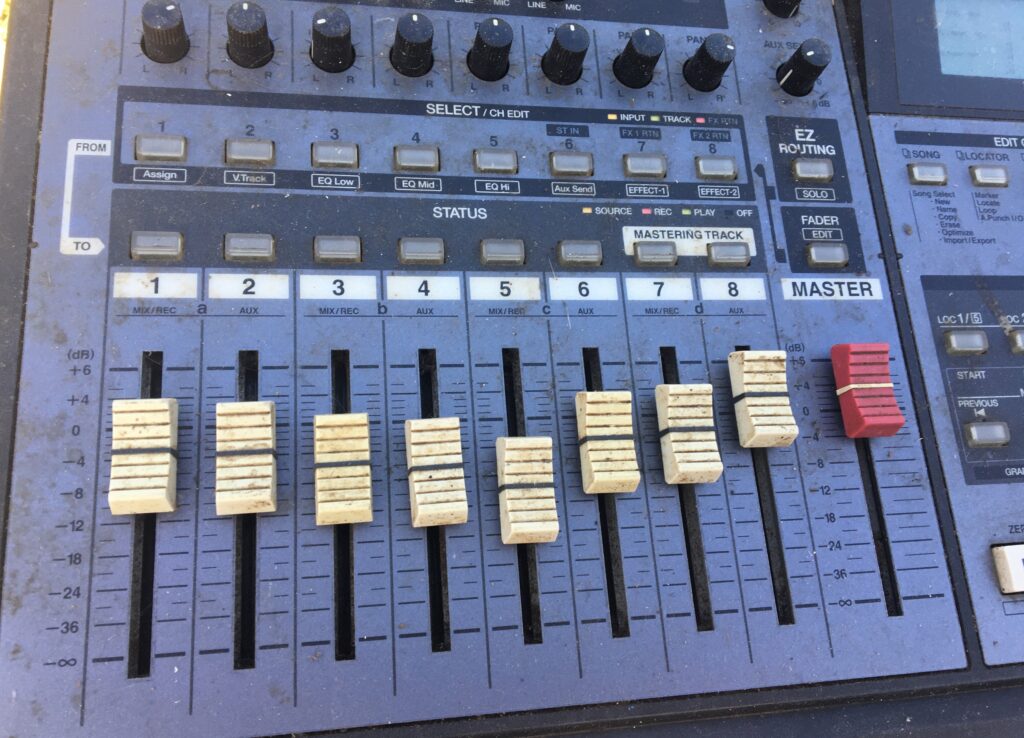
After peeling off the crapply applied bubble wrap that looked like it was pulled from the basement of a 1980’s crack house. I quickly realized, the machines were ten times worse. The picture above is just a small intro on how nasty they were.
Now a novel could be wrote on just cleaning these disgusting machines. I have decided to break it down in to parts for some one that just bought a machine that they would like to clean, repair and refurbish.
You May Also Like
Numark DXM Mixer Loud Hum Repair
December 17, 2022
MPC 500 Pad Upgrade DIY
June 1, 2019